Documents
Add and Edit Documents
You can add and edit Documents directly on Case Summary, without moving to another page.
Click on the Edit button in the toolbar to start editing or uploading Documents.
Any changes you make while editing, whether adding, editing documents, or any combinations of these, will not be applied until the Save button is pressed.
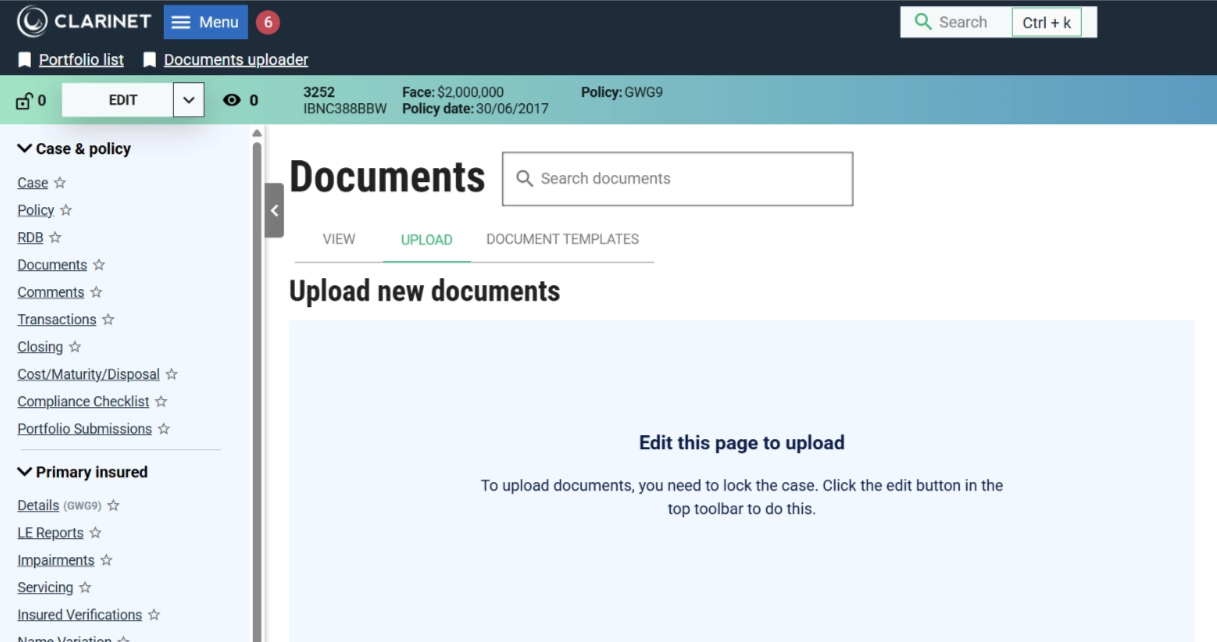
To Upload documents
Click on the edit button in the toolbar to lock the case.
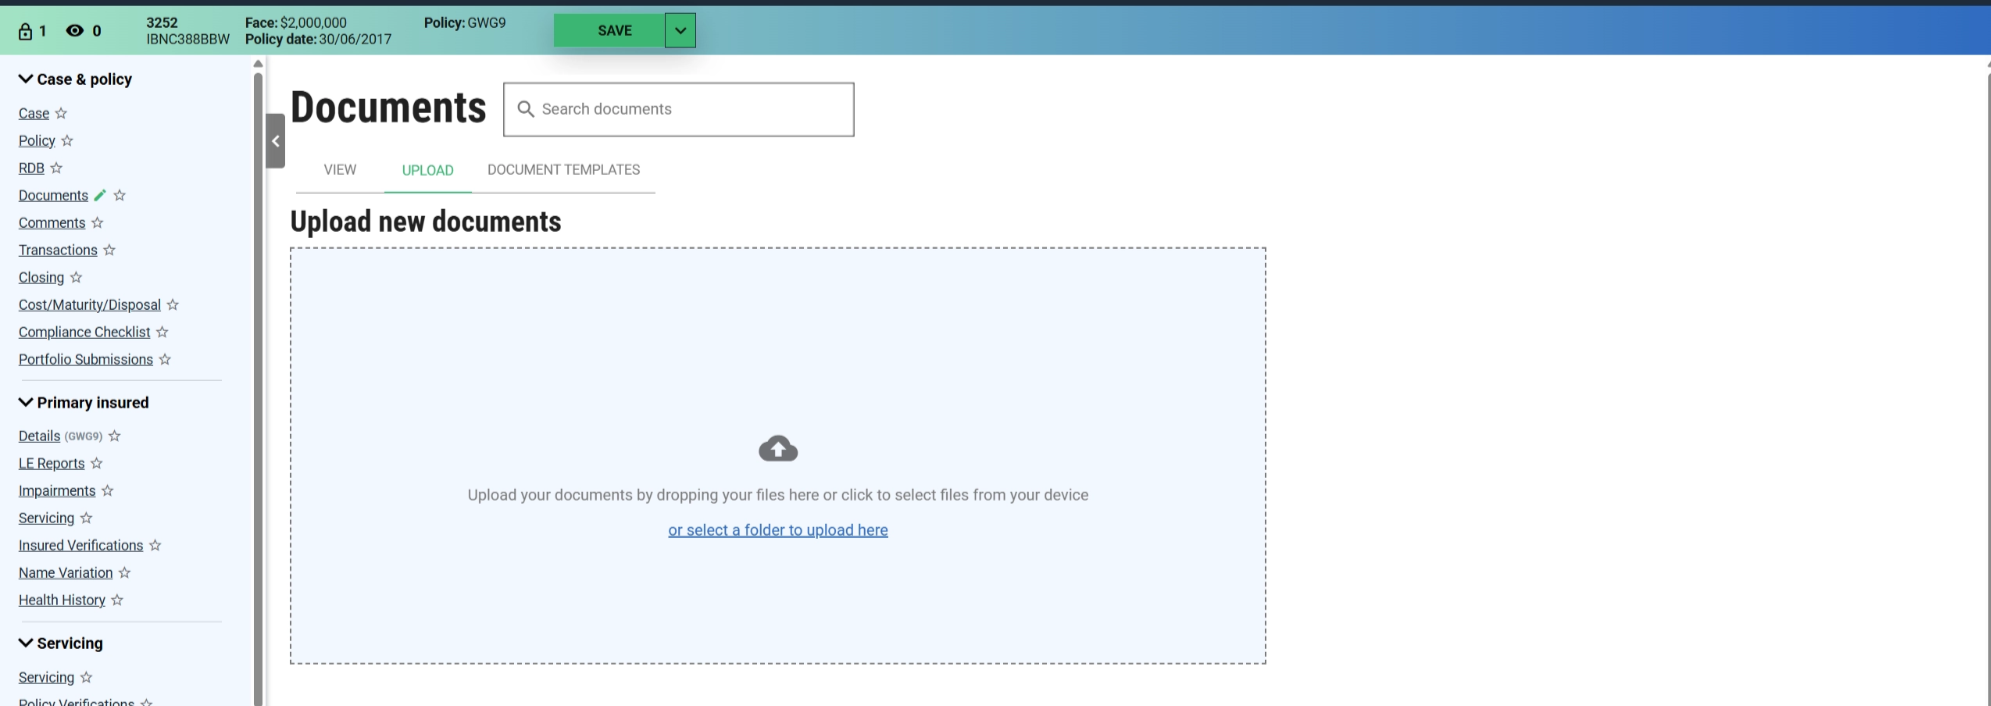
To add Documents, either drag and drop files onto the drop area or click on the link, select a folder to upload here to open an Explorer dialog to select a folder.
While Documents are uploading, you may start to set properties on the Documents, such as the date, document type, or Description. We will only prevent you from editing further if a problem occurs with the upload, such as if the Document is of an unsupported type.
Spinner icon shows up on the save button while the documents are uploading. A green tick next to the documents confirms that the documents are uploaded.
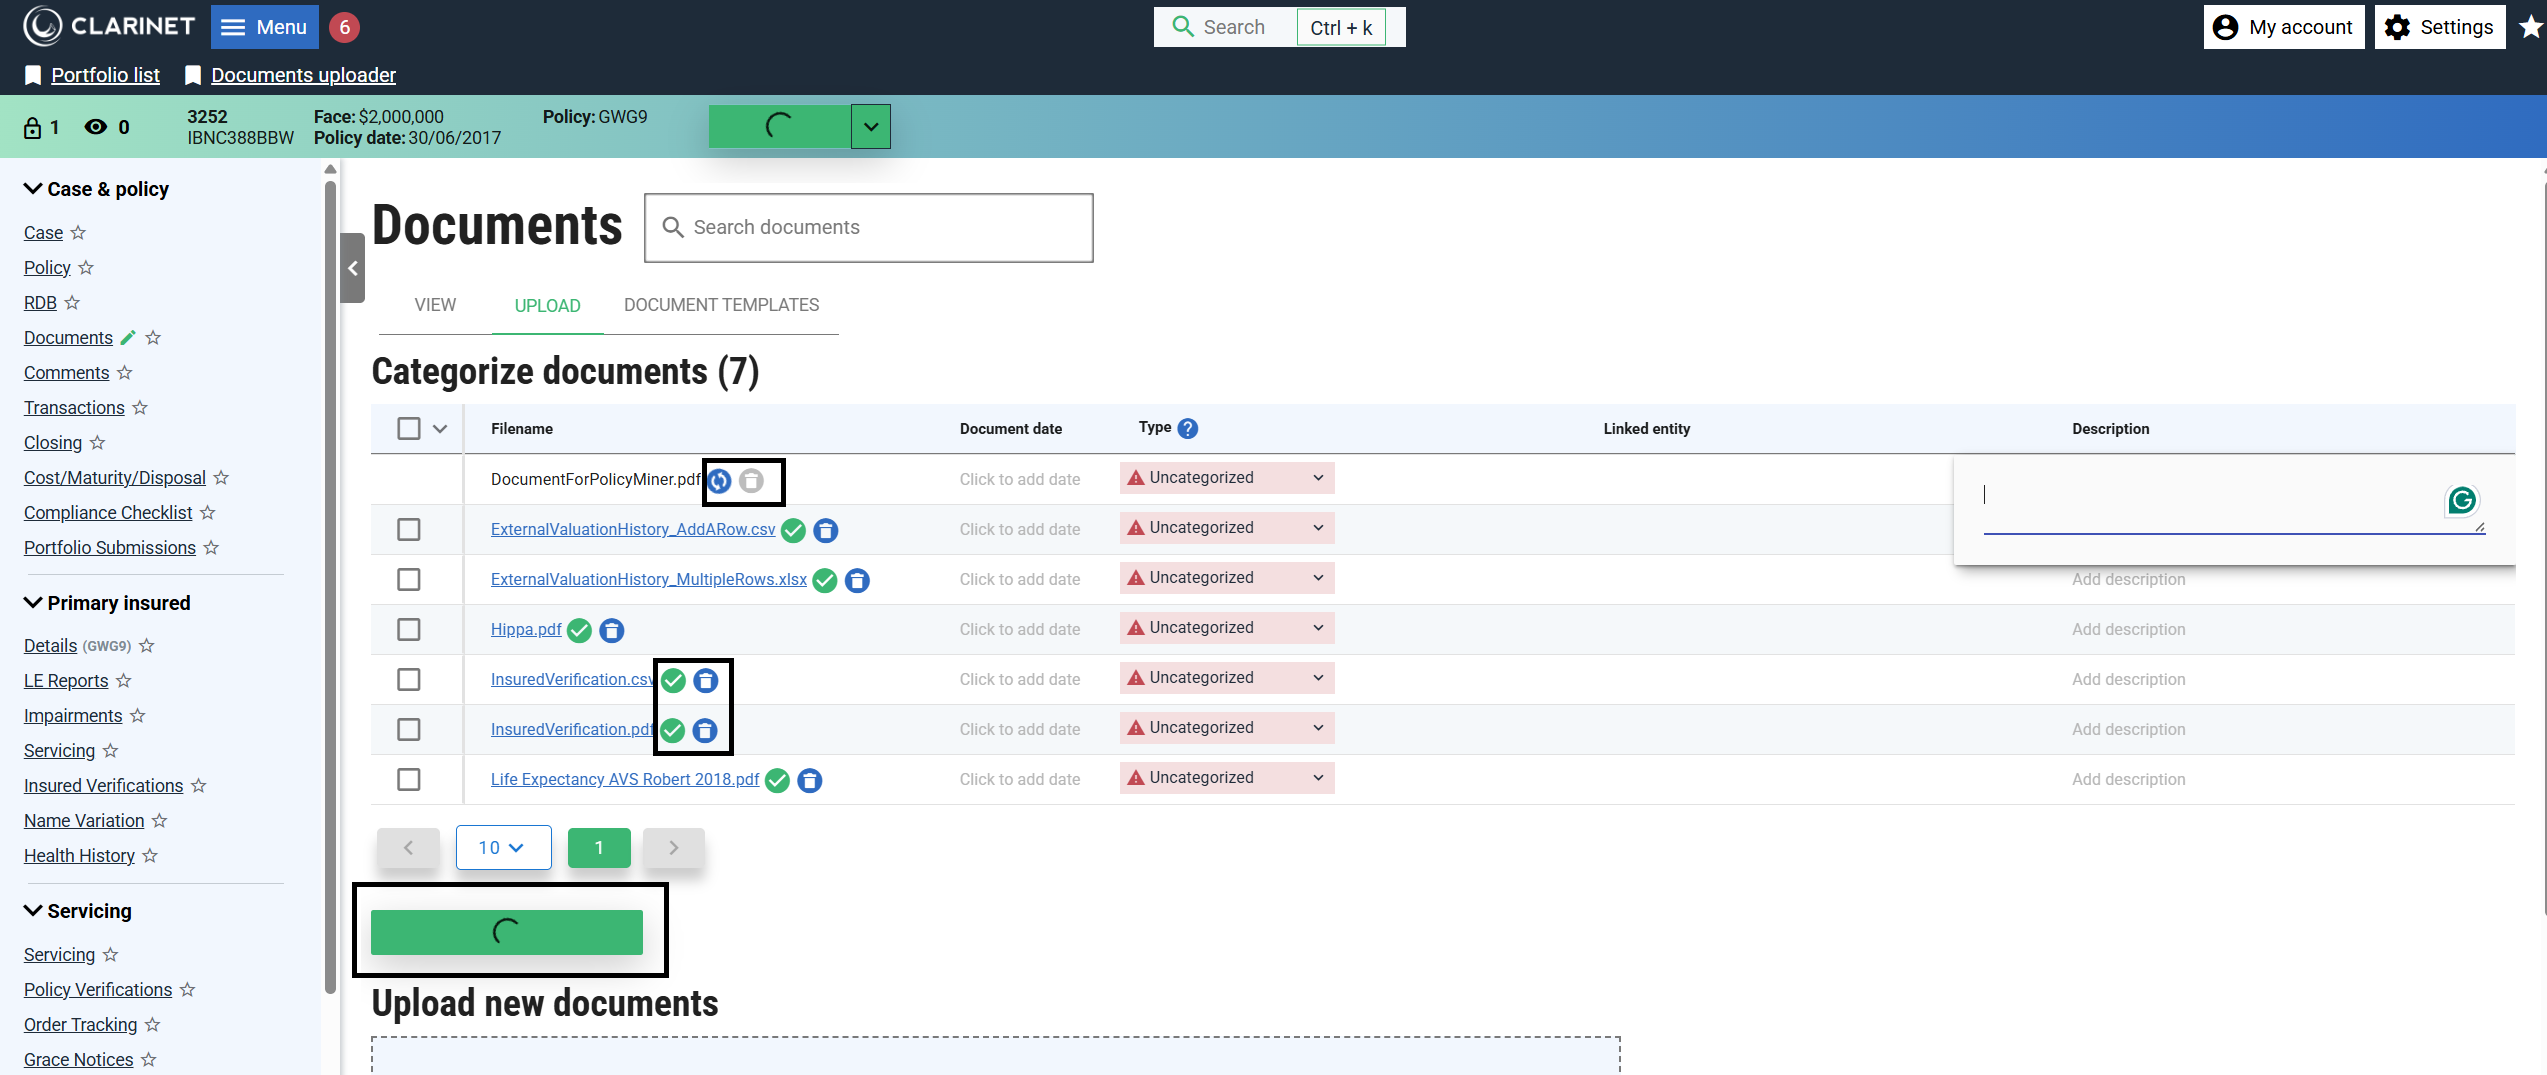
The Documents can then be categorized individually, or all of them can be set to a category by clicking on the Select All checkbox as below:
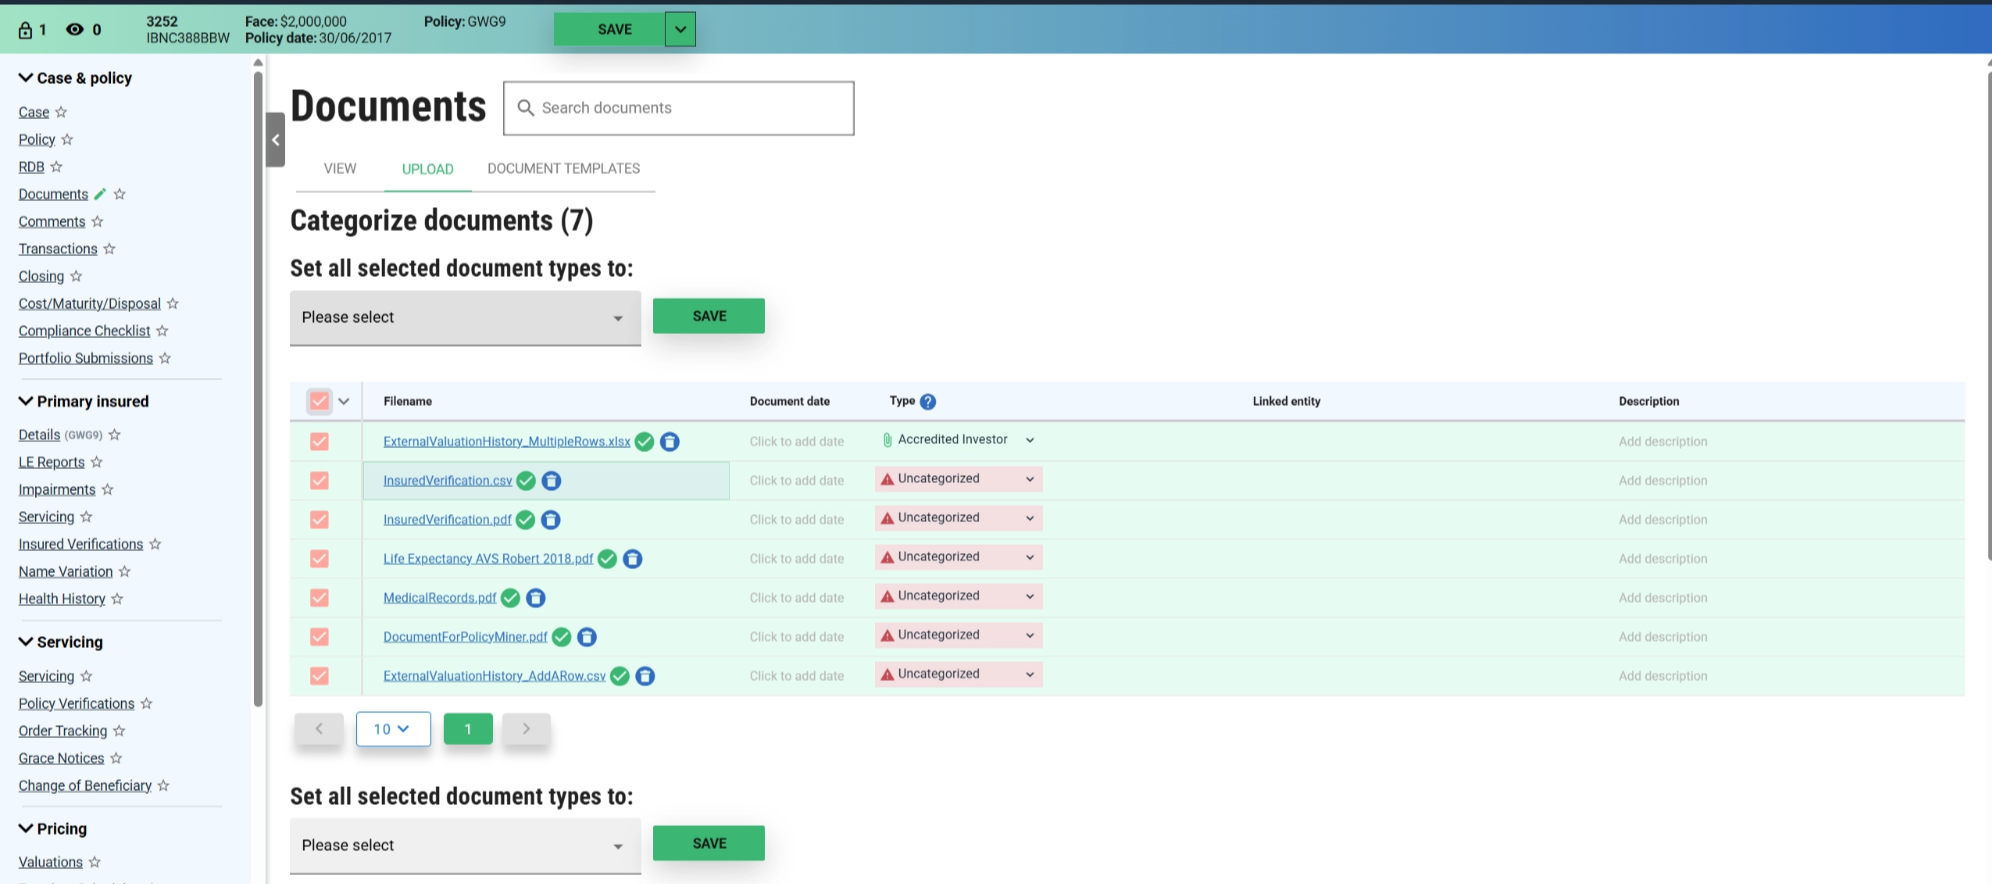
Click on the SAVE button once the category is selected. Click on the View tab to view the changes. You can now add the document description and the document date to the selected document. Finally, hit the save button in the toolbar to save the changes and unlock the case.
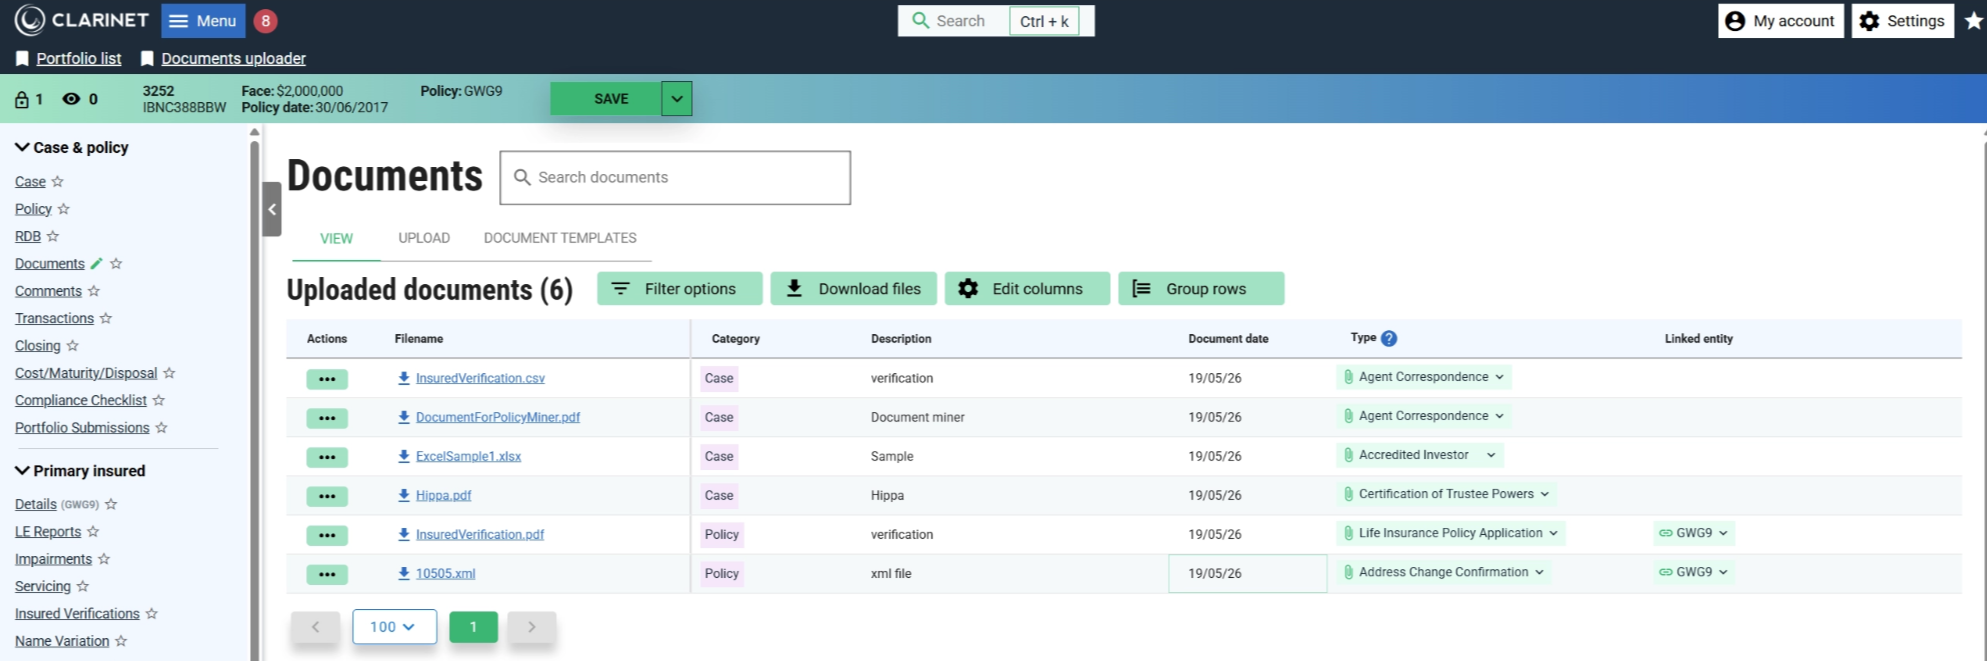
Searching for documents

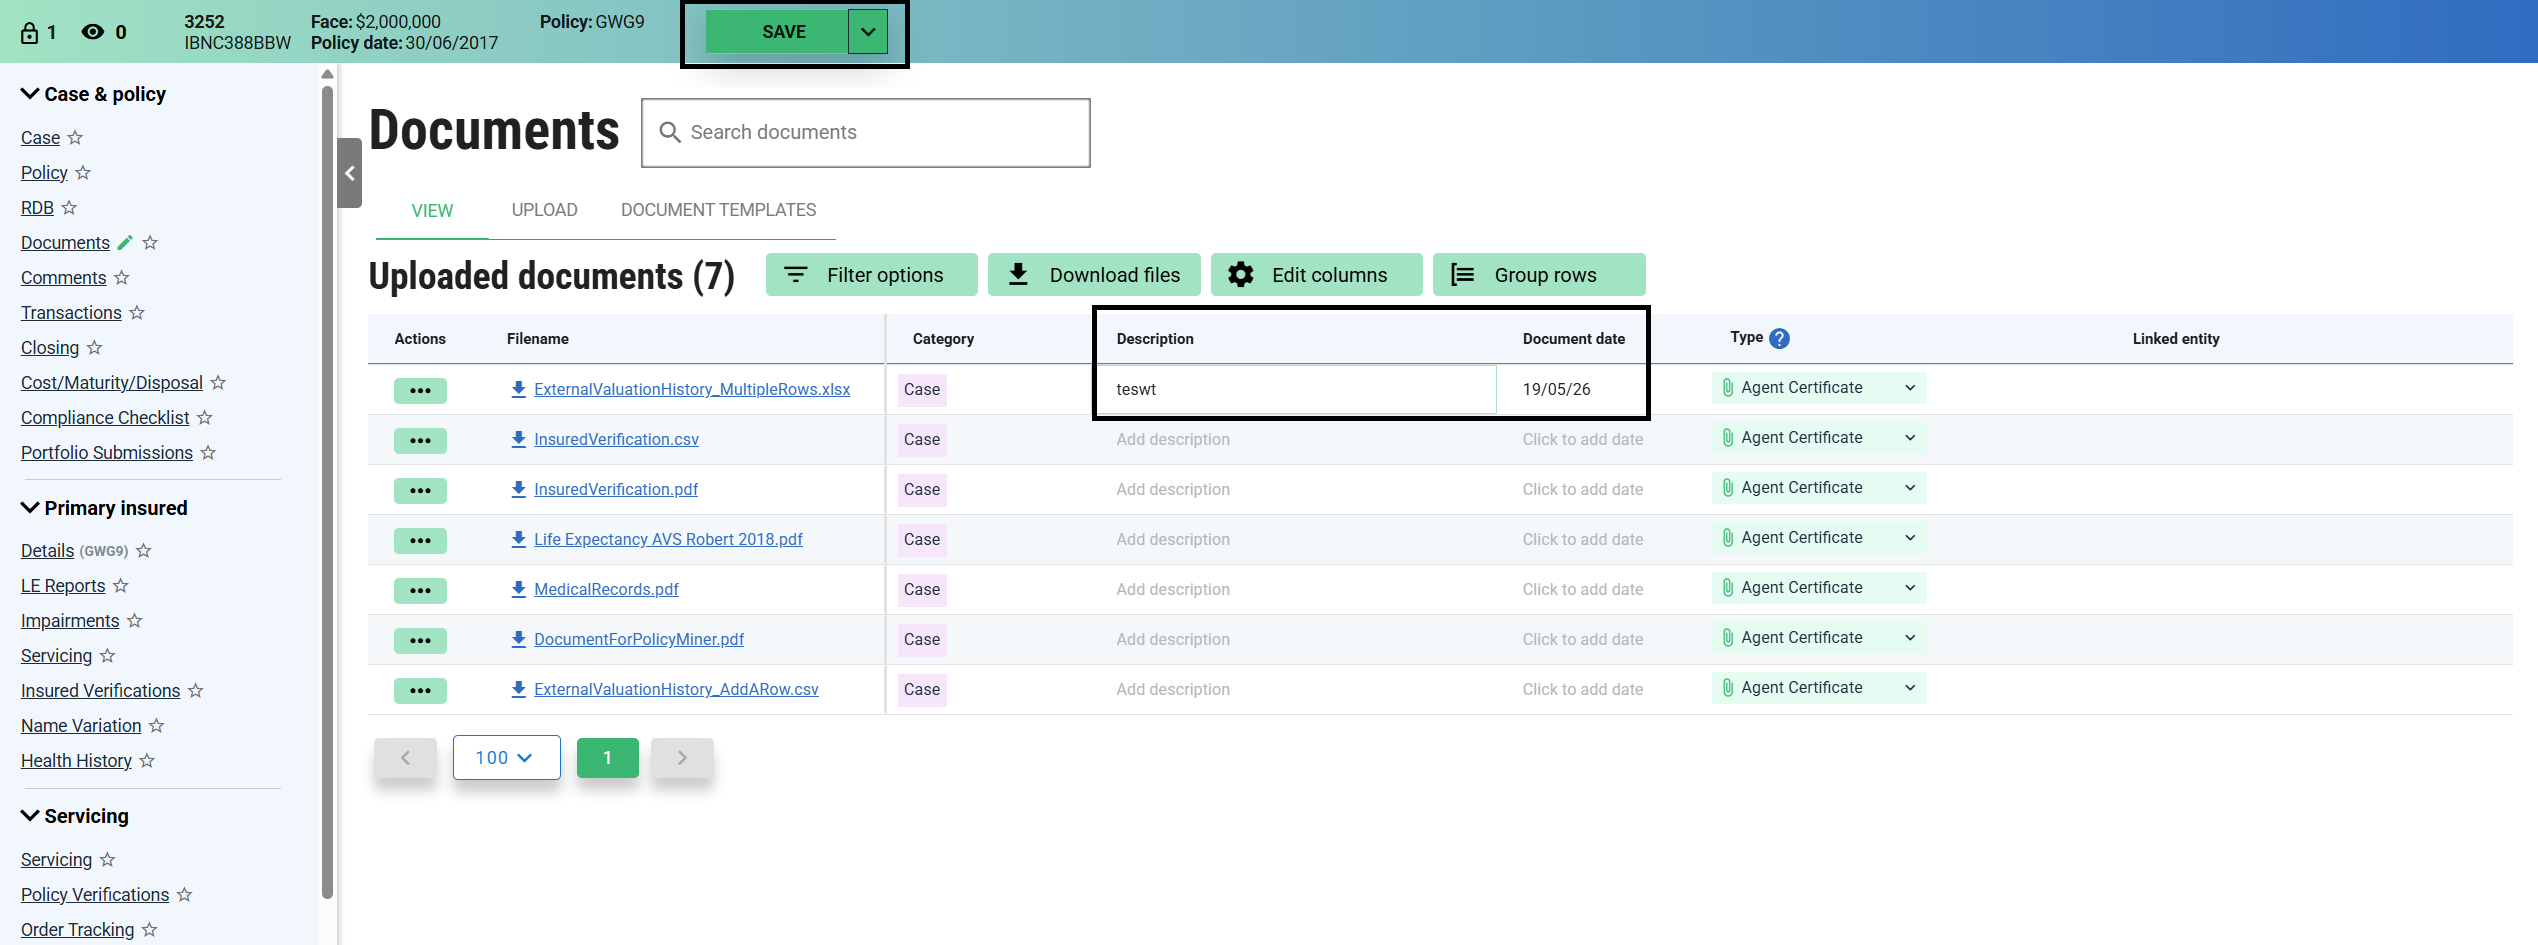
Search for the required documents using the search bar to filter out only the ones you would like to work on.
The filter options button allows filtering the list based on the categories selected.
The download files button is used to download all of the documents or selected ones.
Columns that need to be displayed can be edited by clicking on the edit columns and selecting only the required columns.
The list can be grouped by document date or category, or furthermore by clicking on the Group rows button. Or simply select no grouping.
Document Categories and Types
The Type dropdown menu allows you to assign a document type. The document types available in the dropdown are dependent on the category of document, i.e., whether Case, Policy, Illustration, Primary or Secondary Insured or Closing. Additionally, a document can be Uncategorized.
Case Documents
- Accredited Investor
- Acknowledgement Form for Life Settlements
- Addendum To Trust
- Agent Certificate
- Agent Correspondence
- Agent Reps and Warranties
- Annuity Contract
- Articles of Incorporation
- Assignment Agreement
- Authorization to Release Policy Information
- Authorized Signatory List
- Bankruptcy Discharge
- Beneficiary Consent
- Beneficiary Identification
- Bid Acceptance Letter
- Broker Certificate
- Broker Commission Disclosure
- Broker Correspondence
- Broker Wiring Instructions
- Brokers Rights of Agents
- Brokers W-9
- Carrier Correspondence
- Case Underwriting
- Certificate of Good Standing
- Certificate of Incorporation
- Certification of Trustee Powers
- Change of Beneficiary Confirmation Letter
- Change of Beneficiary Form
- Change of Ownership Confirmation Letter
- Change of Ownership Form
- Check Copy
- Closing Documents
- Commission Disclosure
- Contract Request Form
- Conversion
- COO/COB/TPA Confirmation Letter
- Corporate By-Laws
- Corporate Resolution
- Death Claim Package
- Death Claims Processing
- Deceased Beneficiary Documentation
- Deceased Insured Documentation
- Delivery Requirements
- Disbursement Form and Instructions
- Disclosures
- Divorce Agreement
- Divorce Decree
- Email Correspondence
- Escrow Agreement
- Funding Method Request
- Hold Harmless
- Insured Risks Disclosures
- Investor Correspondence
- Invoice
- Irrevocable Beneficiary Letter
- Life Settlement Agreement
- Life Settlement Application
- Life Settlement Application (Broker)
- Life Settlement Transaction Disclosures
- List of Partners
- Loan Agreement
- Maturity Claim Check
- NAIC Disclosure
- Out of State Affidavit
- Owner ID
- Owners Disclosures Consent Forms
- Partnership Agreement
- Personal Guaranty
- Physician Statement (Owner)
- Premium Finance Document
- Premium Schedule
- Primary Designee
- Promissory Note
- Proof of Premium Payment
- Provider Correspondence
- Seller Identification
- Sellers W-9
- Servicer Correspondence
- Settlement Statement
- Spousal Release and Consent
- State License
- Tax ID Verification
- Trust Risks Disclosures
- Trustee Certification
- Trustee ID
- Verification of Coverage
- Other (Case)
Policy Documents
- Address Change Confirmation
- Annual Report
- Annual Statement
- Broker of Record Form
- Carrier Payment Adjustment Notice
- Carrier Payment Confirmation
- Death Benefit Change Document
- Death Benefit Check
- Grace Notice
- History Of Ownership
- Lapse Notice
- Life Insurance Policy Application
- Lost Policy Certificate
- Payment Notice Letter
- Policy Certificate
- Policy Form
- Policy Form (Post Conversion)
- Premium History
- Premium Notice
- Premium Reimbursement Notice
- Trust Agreement
- Trust Entity Court Documents
- Other (Policy)
Illustration Documents
- Illustration
Primary/Secondary Insured Documents
- Death Certificate Authorization
- Designation of Contacts
- Disability Premium Waiver
- Employment Verification
- HIPAA Release
- Insured Correspondence
- Insured Death Certificate
- Insured ID
- Insured Servicer Requests
- Insured Tax Return
- Insured Verification
- Insured's Disclosures Consent Forms
- Internal Medical Underwriting Report
- Life Expectancy Correspondence
- Life Expectancy Report
- List of Designated Contacts
- Long Term Disability
- Medical Record
- Medical Record (Insured Verification)
- Medical Records Summary
- Personal Identification Document
- Physician Statement (Insured)
- Power of Attorney
- Power of Attorney (Irrevocable)
- Power of Attorney (Limited)
- Power of Attorney (Limited, for Death Certificate/HIPAA)
- Reinsurance Contract
- Rx Scan
- VULE Report Document
- Other (Insured)
Closing Documents
- Bid Conditions
- Closing Checklist Item
Set Properties
To set properties of multiple new Documents, use the checkboxes on the left of the Document rows or at the bottom:
- Choose “All” to edit the properties of all Documents.
- To edit the properties of some Documents, use the individual checkboxes on the rows of the Documents you wish to edit.
- When some, but not all, of the new Documents are Uncategorized, the “Uncategorized” checkbox may be used to select just those Documents.
When you have finished editing multiple Documents, you can untick the appropriate checkbox to unselect them all. You can then select a different group of Documents to edit.
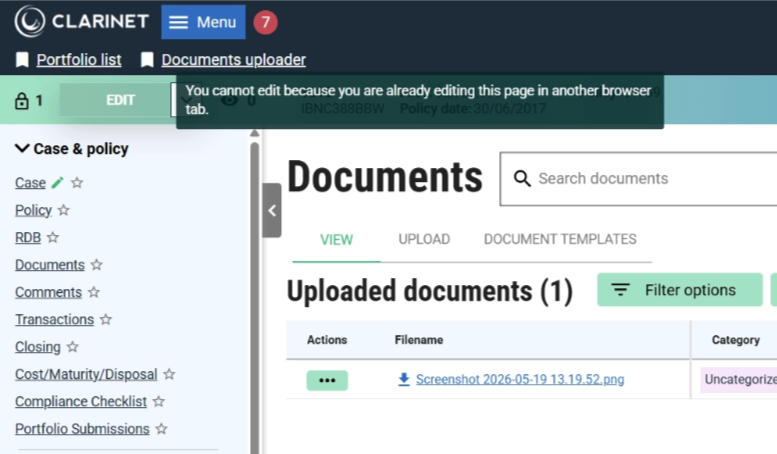
Due to some current limitations, you cannot edit Documents through the Documents tab if you’re performing another edit elsewhere in the Case Summary.
Document Miner
Access to Document Miner requires the role Document Miner under Special Modules. If this role is not available to your Subscriber Admin, Contact support for access.
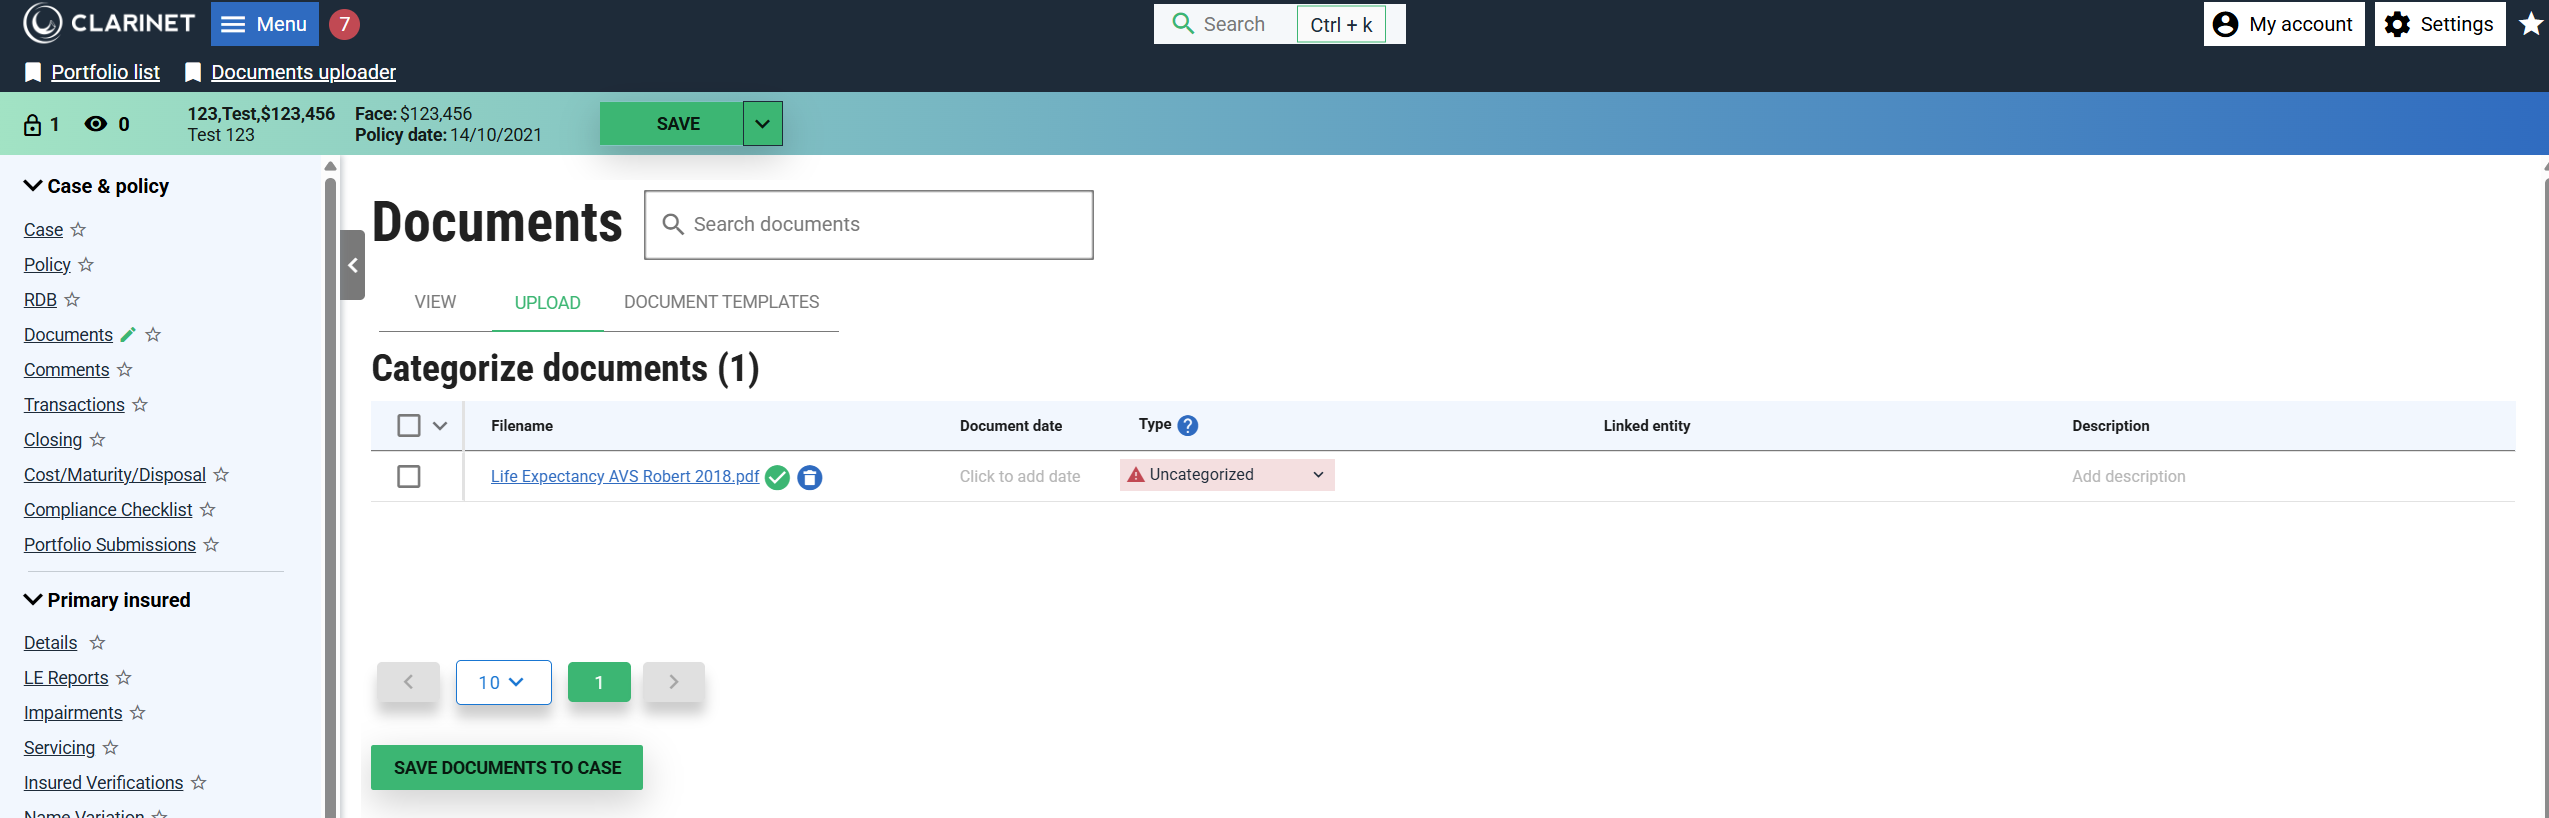
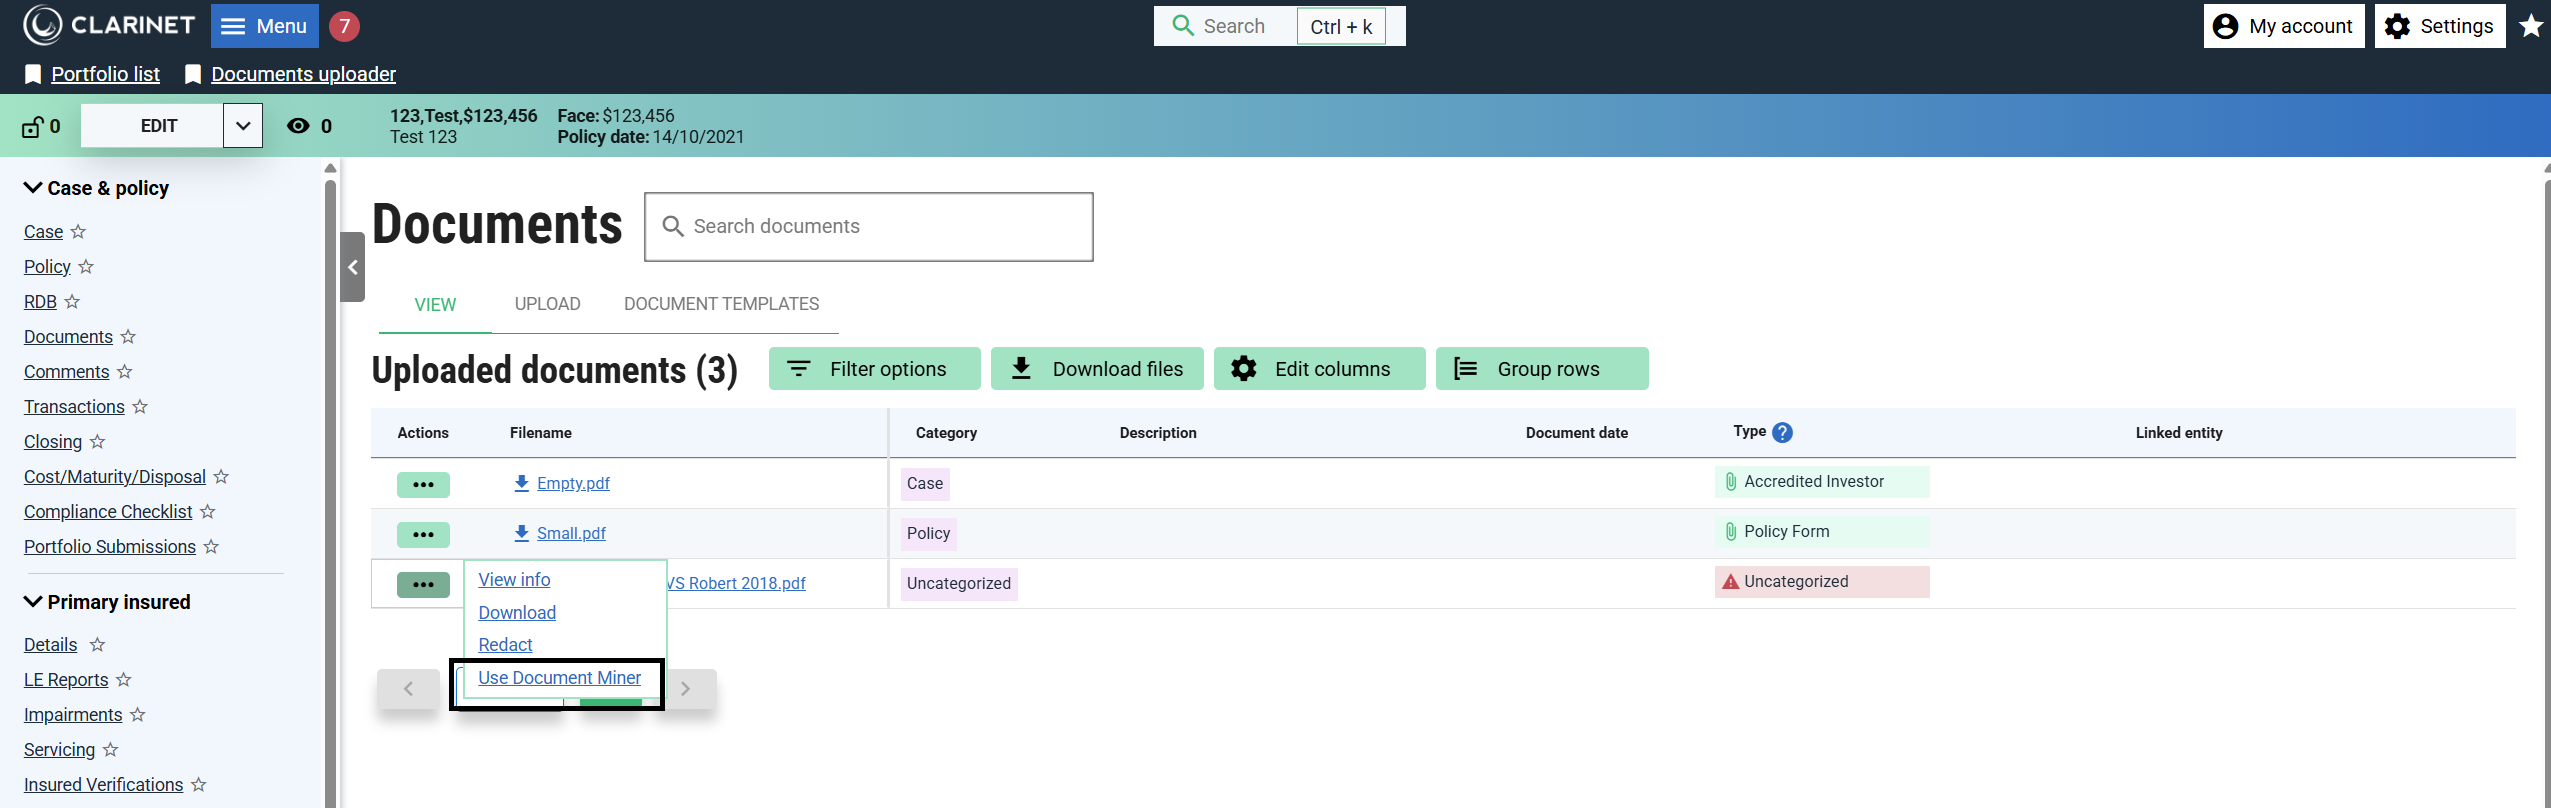
Navigate to the Documents tab and upload a new LE Report as an Uncategorized Document and click Save.
Once this has been saved, click on the actions menu, followed by clicking on Use Document Miner. Clicking this will bring up a confirmation message, asking you to confirm that the document type is an LE Report. Click “OK”. At the end of document mining, new LE Report will be added to the Insured details page (LE Reports tab).
On Insured, LE Report tab, you have the document miner icon as shown in the screenshot below.
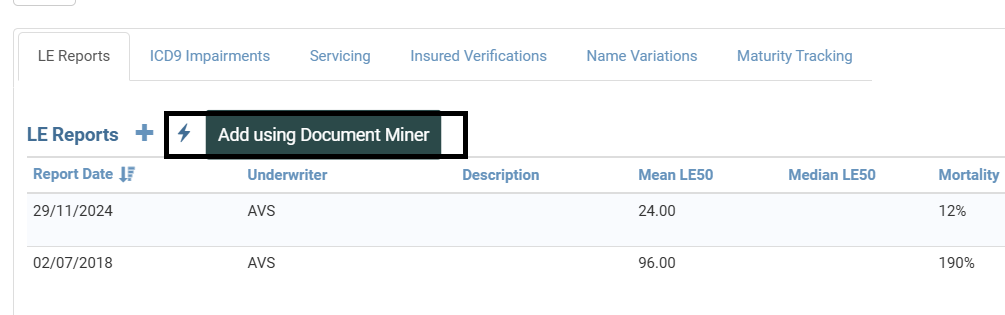
Clicking on the icon opens the Add Document pop-up - Add the Document on this popup and click the “SAVE AND RUN DOCUMENT MINER” button.
Document Miner does its best to accurately extract the data from your PDF, however various factors can affect the accuracy of the resulting data. It is strongly recommended that you manually verify the data produced, especially if your PDF is of poor quality.