Custom Reports
Creating a Custom Report
Creating a Custom Report is done from the Export and Report Settings page. This is accessed from the Exports & Reports link under the Settings menu. To create a Custom Report, click on the Add icon in the Custom Reports section.
Enter a name for the new Custom Report and click OK:
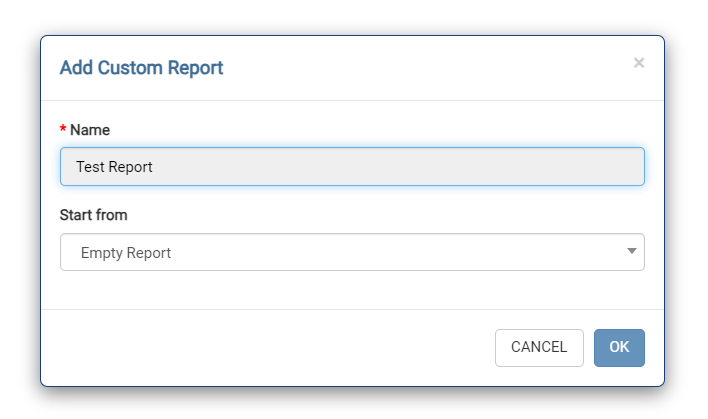
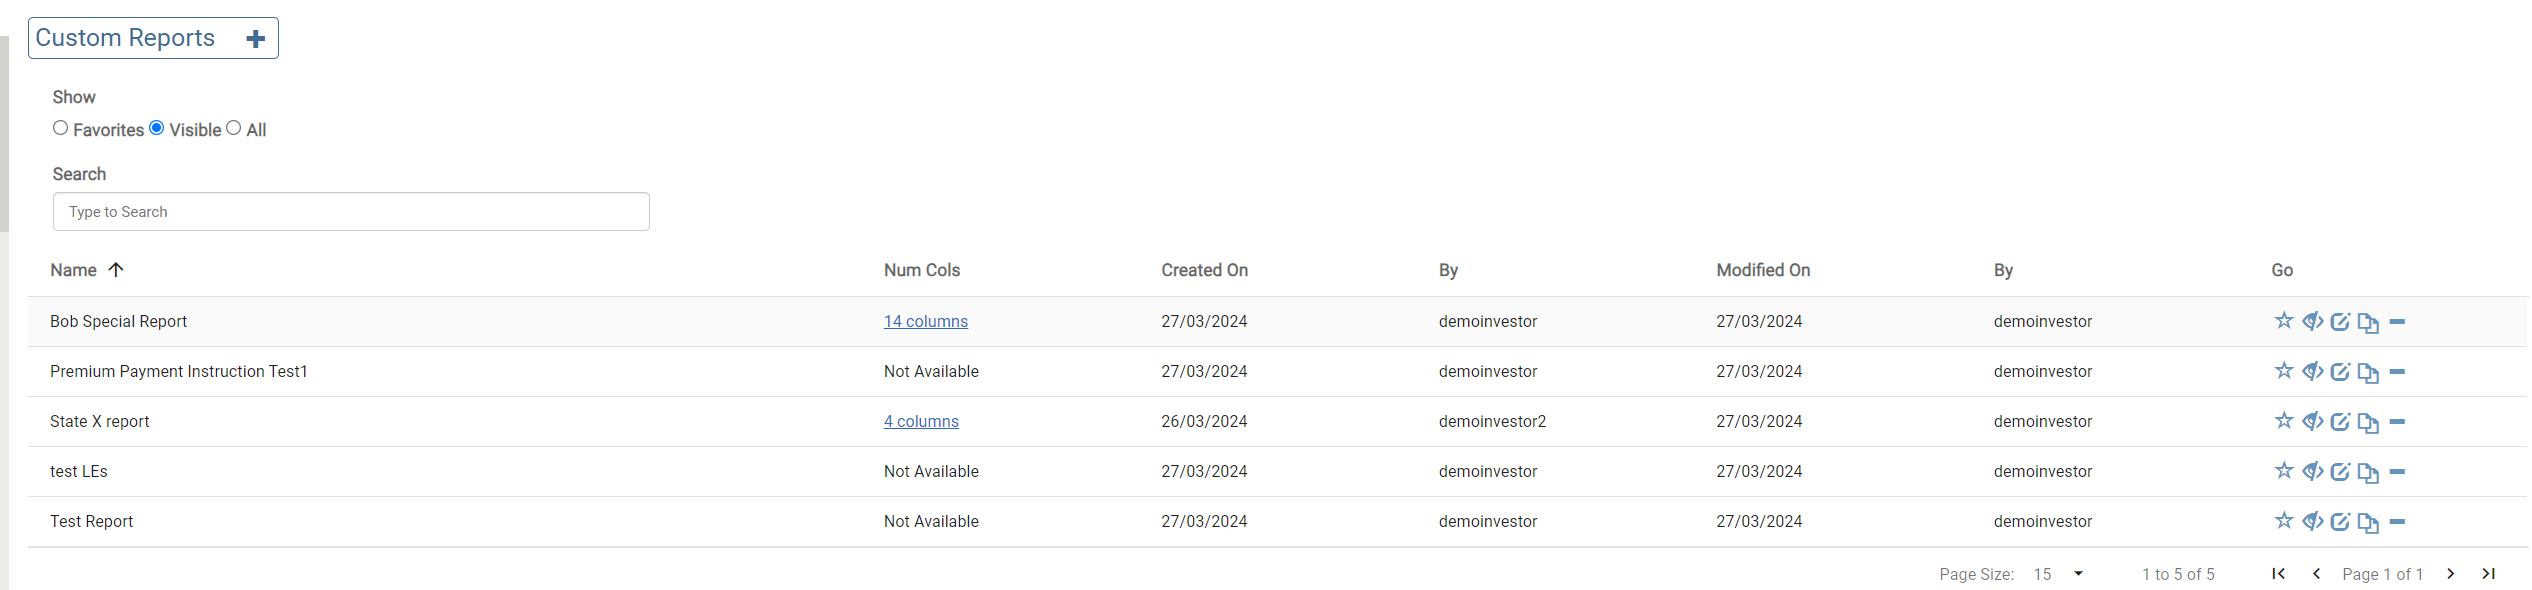
This adds a new row to the Custom Reports section.
GO Column
The go column allows the feature listed below
- Favourite a Custom Report
- Hide/Show a Custom Report
- Edit a Custom Report
- Copy a Custom Report
- Delete a Custom Report
Favoriting Custom reports
The empty Star icon under the go column allows you to favourite a report by clicking on the icon.
This feature allows you to filter your favourite reports. By having at least one report favourited, just the favorited reports will be listed whenever you access the Export and Reports page.

Clicking on the filled star icon will unfavorite a favorited report.
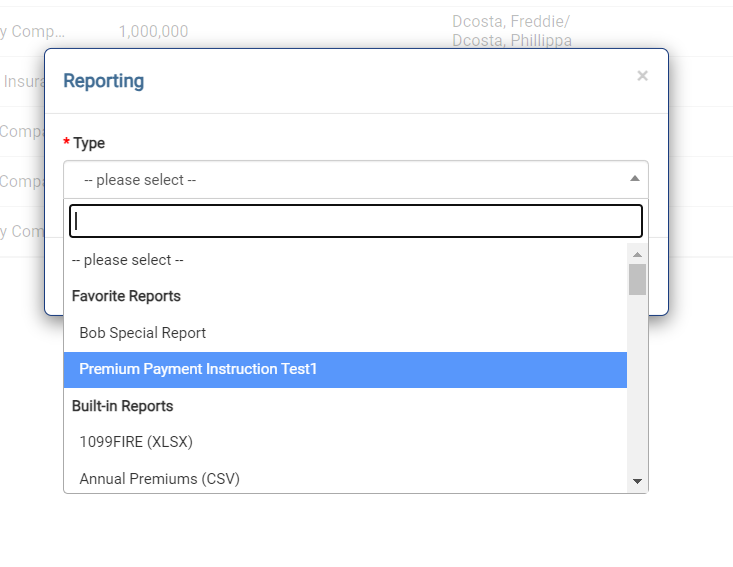
All the favourite reports will be listed first under the label Favourite Reports on reporting modals when accessed from
- Home Page
- Advanced Search Page
- Portfolios List Page.
Hiding a Custom Report
The eye icon under the GO column allows you to hide a Custom Report. Hidden custom reports will be hidden from the reports list and the reporting modal.
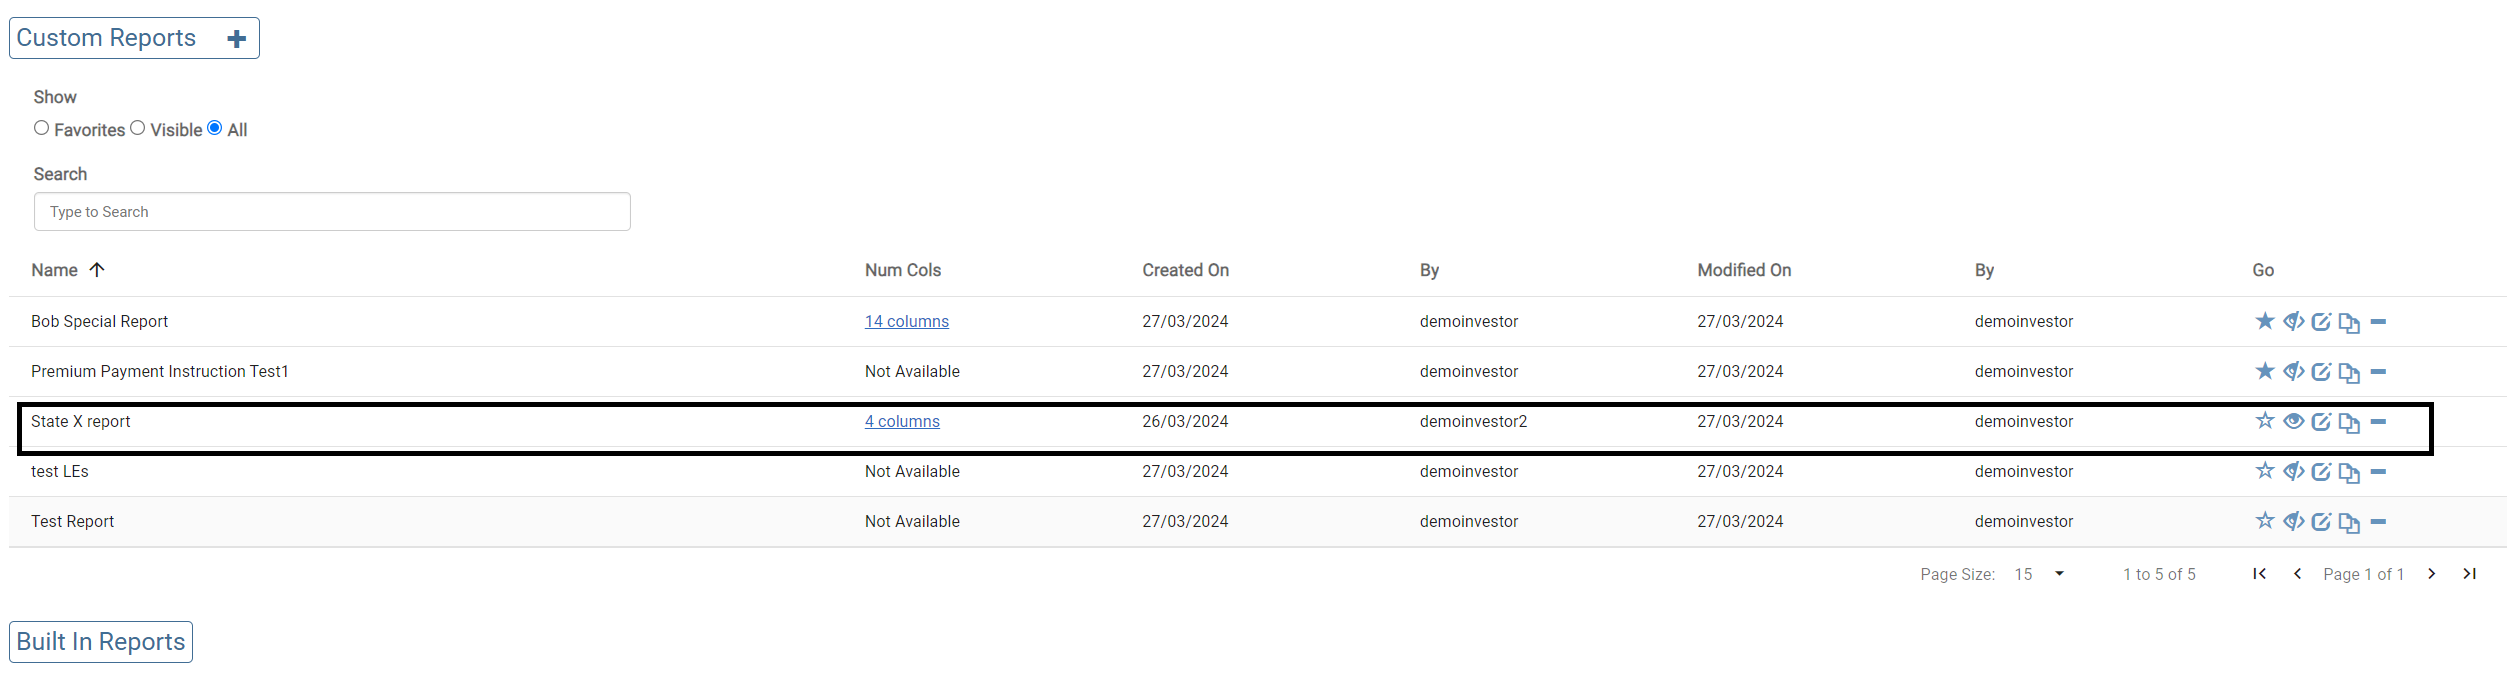
The filters in the screenshot below allow you to filter the reports.
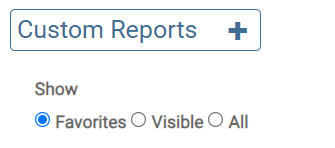
You must select “All” to view all the reports, including hidden ones. “Visible” must be selected to display only visible reports and not those which are hidden.
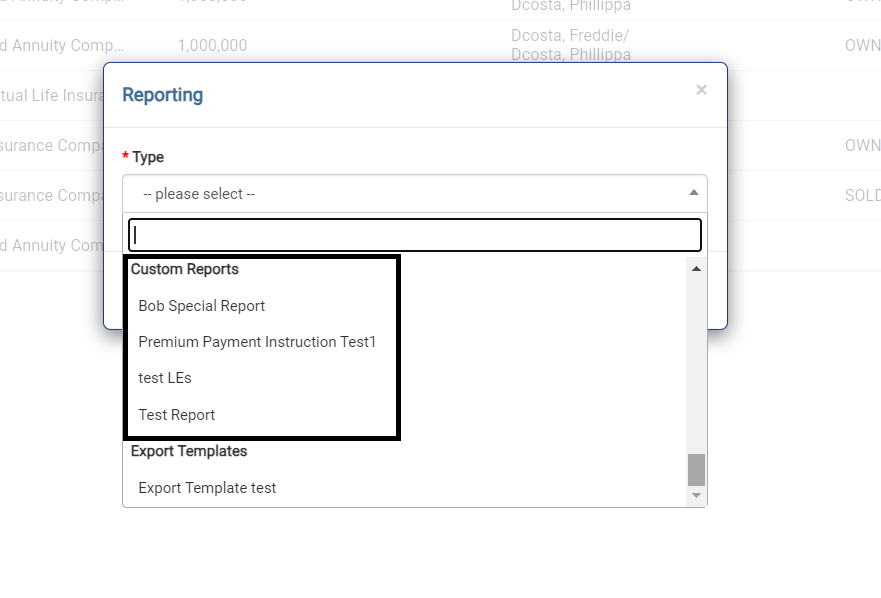
Example: State X report is hidden as shown in the screenshot below
Hence not listed in the reporting modal
Reports can be either hidden or favorited but not both
Editing a Custom Report
Adding or editing the contents of a Custom Report is done by clicking the Edit icon under the Go column, which opens the Custom Report page.
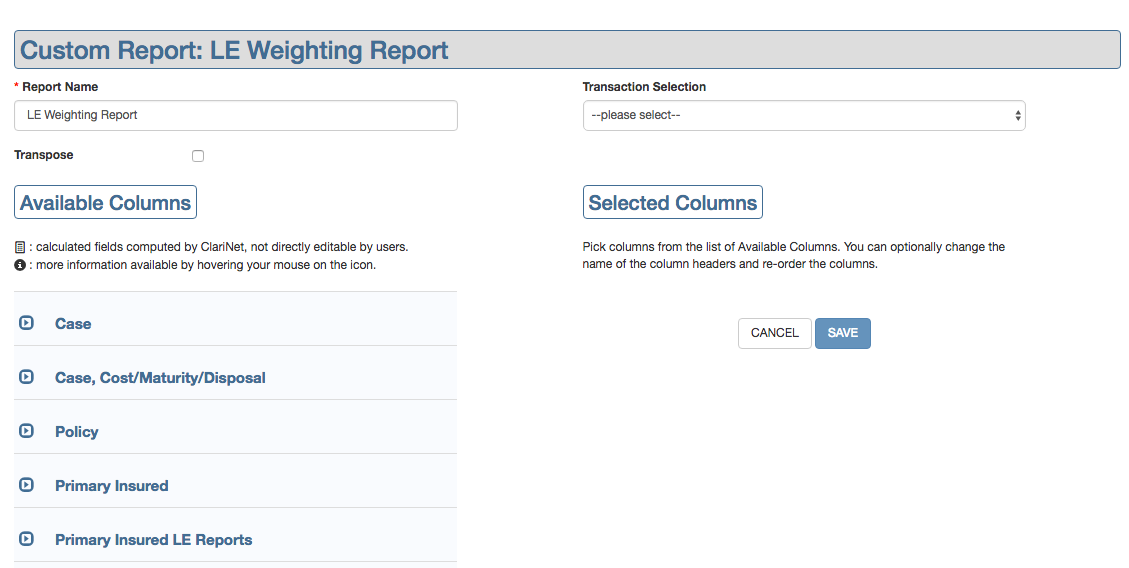
The only required field on this page is Report Name.
- Transaction Selection: If your Custom Report includes fields related to Transactions, use this dropdown to determine which Transaction(s) should be used. Options are:
- Last 1, 2, 3 ... 10.
- Latest Closing Only
- All Closing.
- Use Repeatable Groups
- Transpose: The default layout is for each unique Case/Transaction to run from left to right across the page. Checking this box changes the layout to run top to bottom. This is particularly useful when building a Custom Report to work with the Portfolio Uploader.
Adding a Column
Click on the Expand icon against a section in the Available Columns list to display the list of fields in this section:
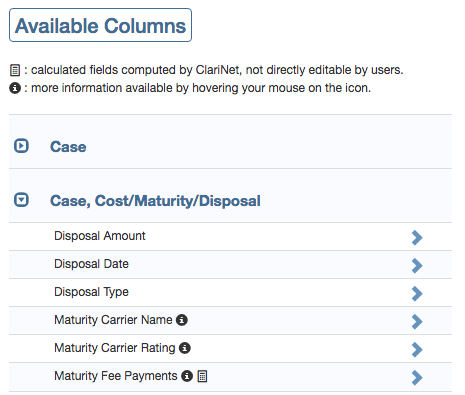
More information about the content and composition of some of the fields can be obtained by hovering your mouse over the Information icon next to the field name. Some fields are calculated by ClariNet LS and for these the calculation is explained in the Information.
Click on the Move icon next to a field to add it to the Custom Report. A green tick will appear next to the field name and it will show under the Selected Columns list:
The first field in the Case section of the Available Columns is a special "blank" field. If included in your Selected Columns, this will introduce a blank row (or column, if you have checked Transpose) into which you can insert your own data or a calculation.
Removing and Reordering Columns
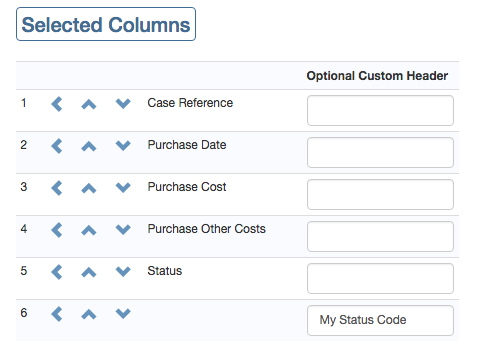
You can reorder fields using the Up and Down icons and delete a field from the Selected Columns by clicking on the Remove icon. You can enter a custom title for each row/column in the Optional Custom Header field (the default title is the field name, e.g., "Case Reference" , "Purchase Date").
Working with Repeatable Groups
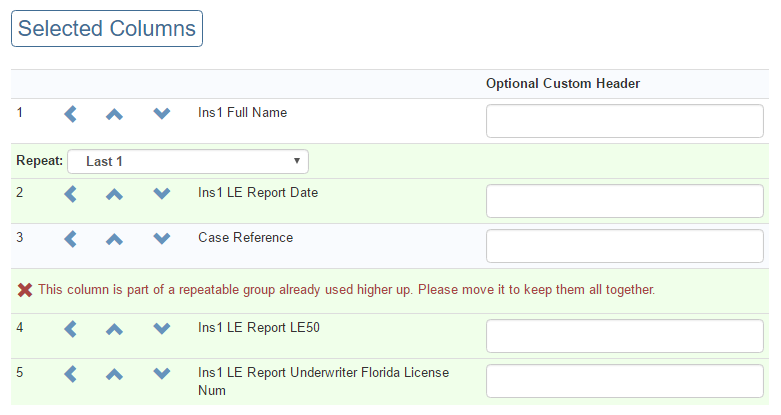
Some Case objects can be represented multiple times, such as LE Reports. We refer to these as "Repeatable Groups". When you add a column which forms part of one of these groups, it appears with a green border and an additional parameter at the top:
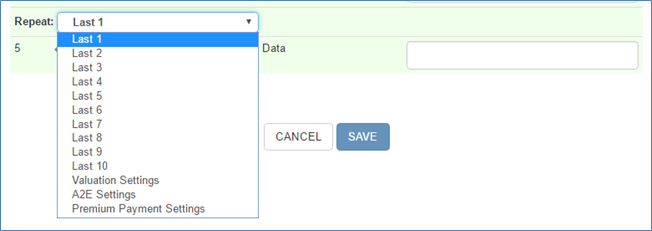
Repetitions of groups can be of a number of types:
- Last X: a number, which will give you the X most recent, where X is a number from 1 to 10;
- All (Transaction groups only): Returns all Sent or Received Transactions, as appropriate to the group
- Valuation Settings (Premium Schedules, Verification of Coverage, Illustration): the items in the collection come from the named Valuation Settings on the case;
- Used in Weightings (LE Reports only): You may select which weightings should be included
- LE Selection and Blending rule (LE Reports only): The named rule will be used to select LE Reports
- Premium Payment Settings (Premium Schedules only): the items in the collection come from the Payment Premium Schedule.
If you accidentally separate the fields within a group, a warning appears.
Remember to save your work once you have finished editing your Custom Report.
Case Study: Working with LE Report Weightings
Assume that you want to edit the weightings used for Valuation across multiple Cases in a Portfolio. You could do this by editing the Valuation Settings for each Case individually or you could use the Portfolio Uploader. To use the Portfolio Uploader, you need to build the data set from the existing Case data in ClariNet LS.
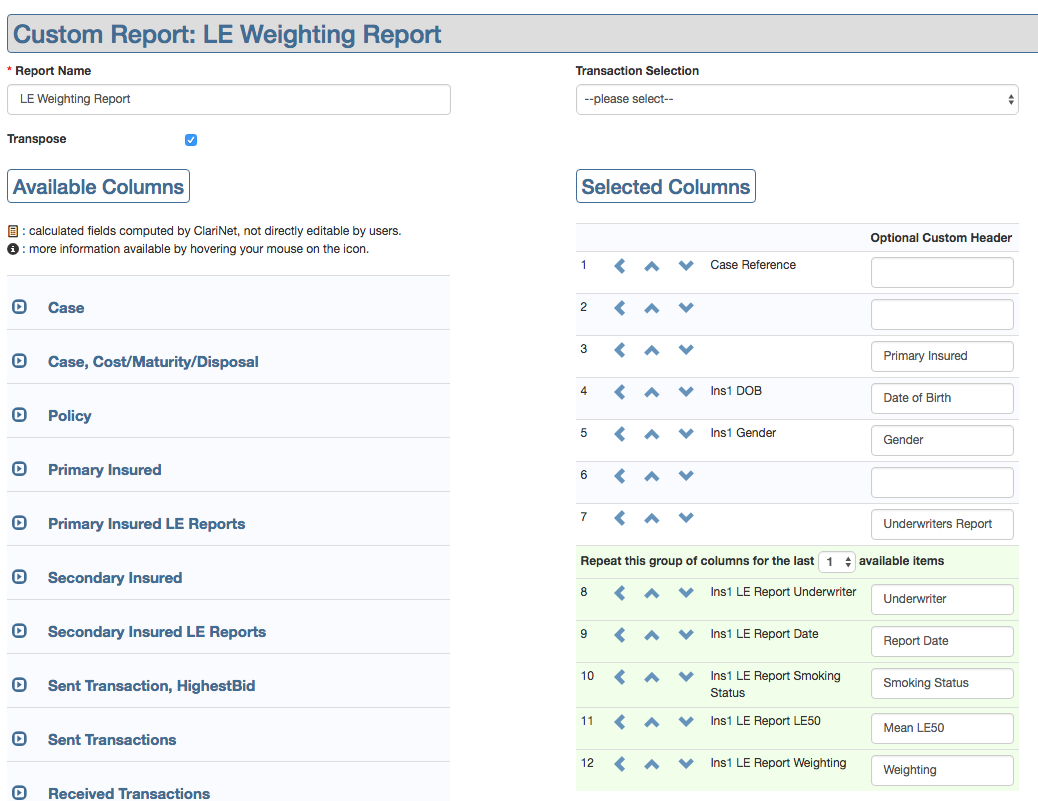
First, build a Custom Report which includes all of the fields required. Use Optional Custom Headers to match the row/column headings to those required by the Portfolio Uploader and use the special column under the Case section to add spaces where required.
Next, run this Custom Report against the Portfolio which you wish to adjust. A file is generated in CSV format:
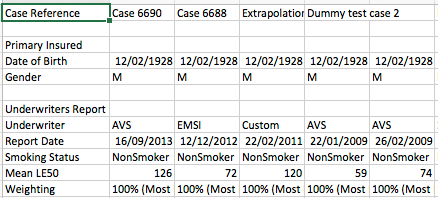
The output has been transposed and the row headings changed to match the Portfolio Uploader template.
Finally:
- Insert a row headed Created Date between Underwriter and Report Date;
- Enter today's date in this field for each LE Report;
- Change the Weighting values for each LE Report as required;
- Change the values in Gender and Underwriter to match up with the Portfolio Uploader specification (e.g., "Male" rather than "M"); and
- Save the file as an Excel file.
This file can then be imported using the Upload Excel Portfolio option under the Cases menu.