First Steps Using ClariNet LS Essentials
Welcome to the help pages for ClariNet LS Essentials, they provide a great source of information to get you started using the application. We recommend you follow these first steps:
1. Login and familiarise yourself with the user interface
Once your ClariNet Essentials user account has been created by the ClearLife team, you’ll receive an email with a login link. You’ll need to complete authentication (if enabled) and accept our terms and conditions. If you experience any issues please contact us.
When logged in, you’ll see the Home page.
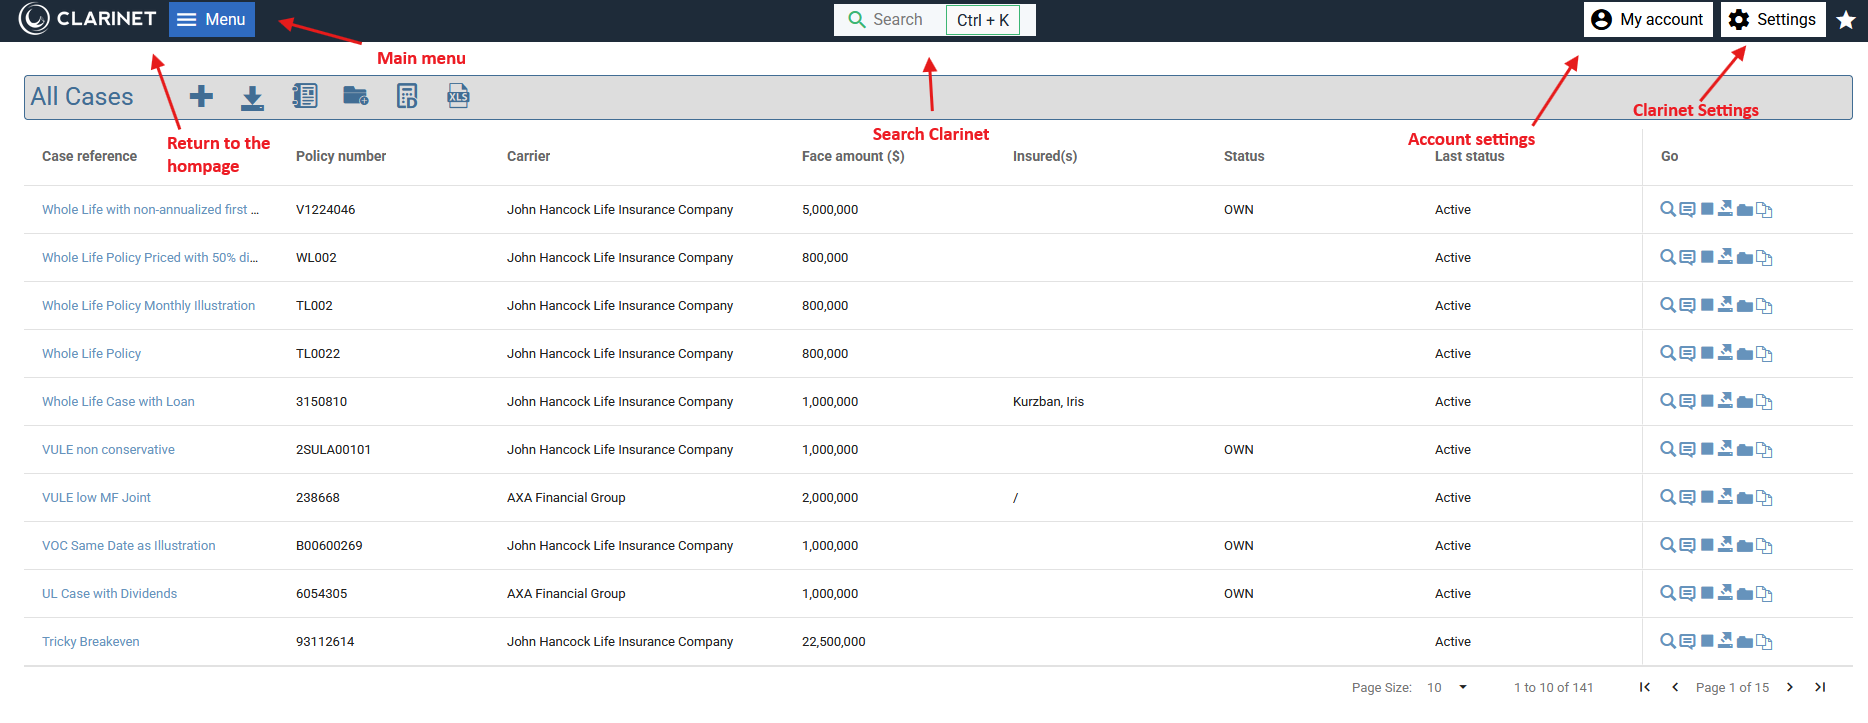
Explore the user interface by navigating through the menus and screens and click the ClariNet LS logo in the top left corner to easily return to the Home page.
The Menu bar provides access to:
- Cases For creating and managing cases.
- Insured For creating and managing insureds.
- Transactions For viewing transactions received.
- Portfolios For creating and managing portfolios.
- Help A link to these help pages, how to contact ClearLife for help and what support information to provide.
- What’s new Links to the most recent ClariNet LS releases.
- User menu For customizing the Home page, modifying Security, setting alerts and notifications, and viewing your Reports. The Logout option is also here.

In the middle a Search drop-down provides functionality for Searching case information including quick Search, Advanced Search and Saved Searches.
2. Customize your Home page
Using the Customize Home Page option under the My account we recommend you set a Home page choice and set a default Case List.
Set a Home page choice
In the Home Page section you can customize your Home page to display either Classic (Case List) or Transactions (Received).
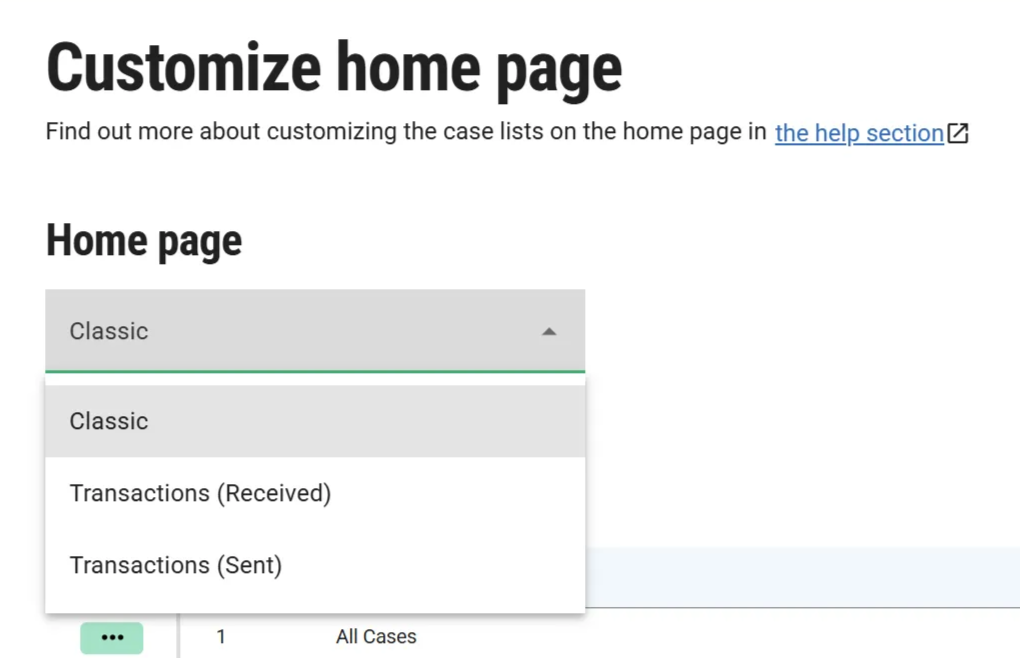
Changes are applied immediately. When Transactions (Received) is selected as the Home Page choice, clicking the ClariNet LS logo displays the Received Transactions page see Transactions.
Set a default Case List
In the Customize home page section in the My account menu, you can define which Case Lists are displayed on your Home page by checking the Show on Classic Home Page check box.

You can add the results of a Saved Search as a Case List to the Home page.
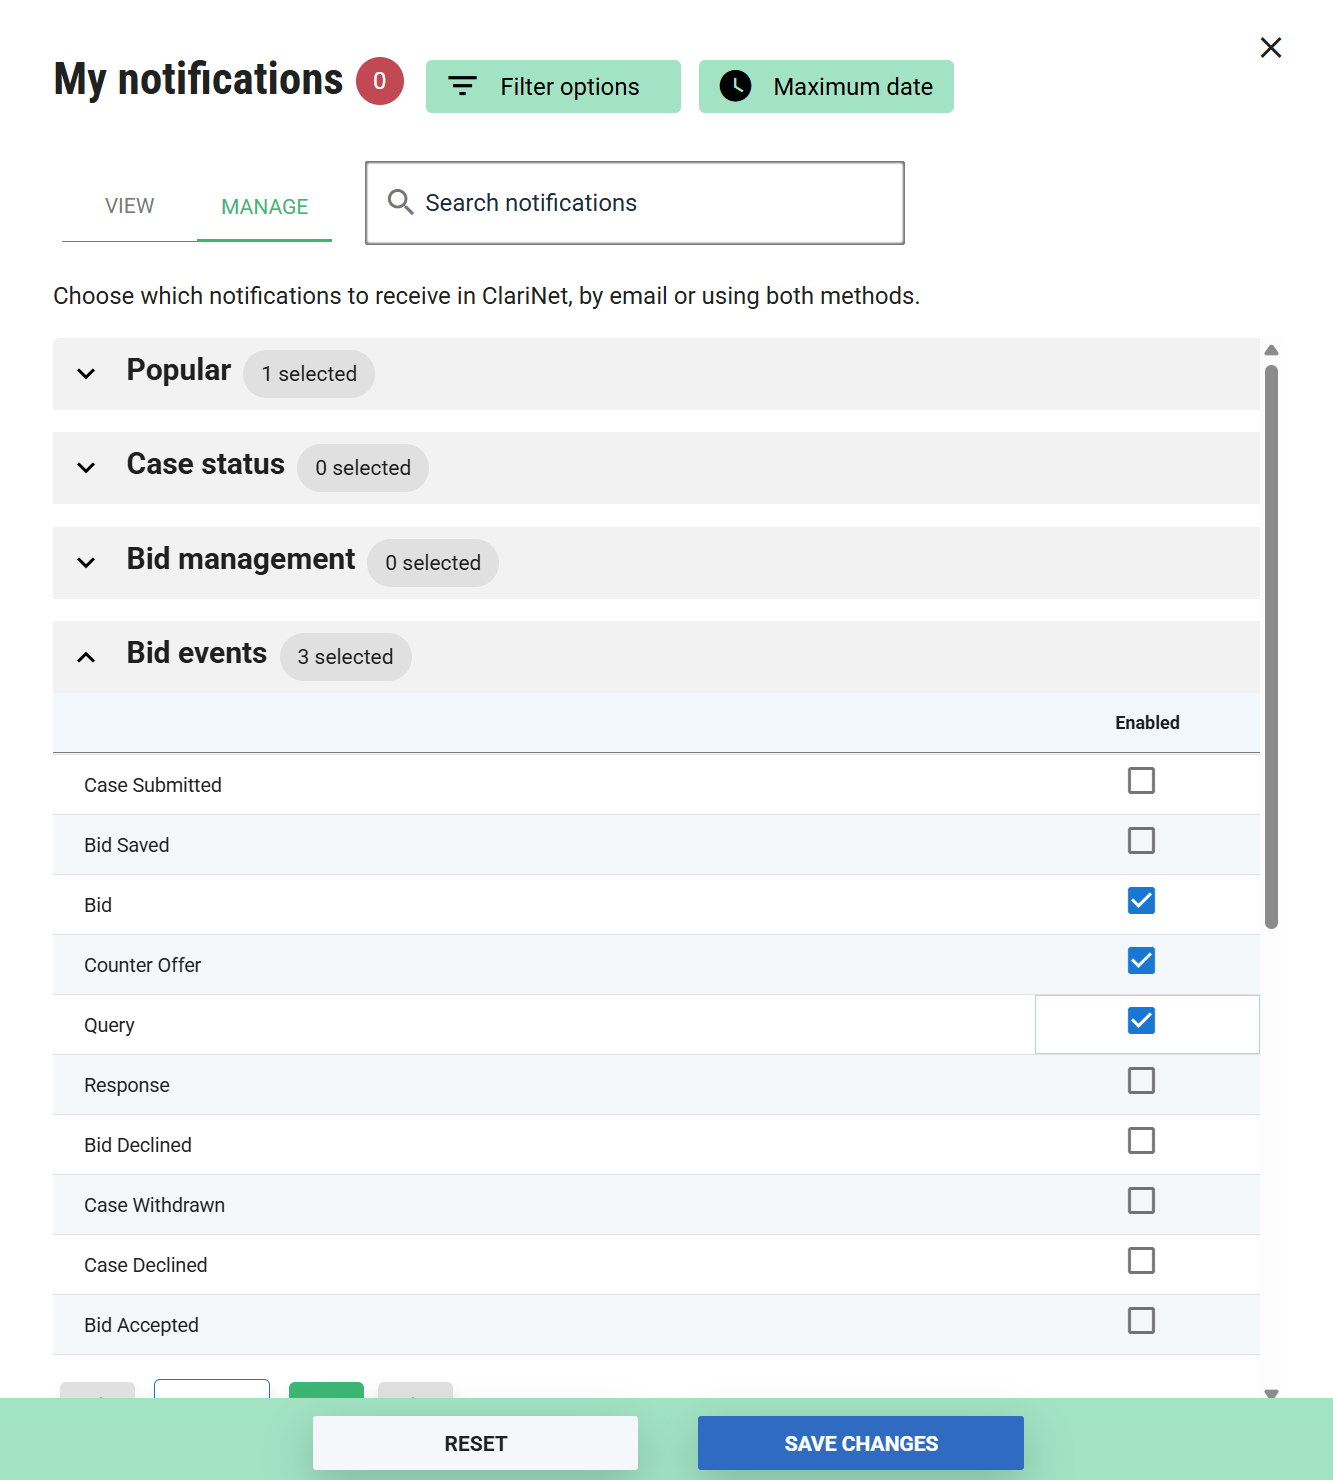
3. Setup useful alerts and notifications
Using the My notifications option under the My account we recommend you set up alerts for various transaction events. For example, you can set up an alert for events such as Bid, Counter Offer and Query. Use the check boxes in the Bid events section to select the events where you want to set an alert and then click SAVE at the bottom of the page.
If, for any received transaction, a Bid has been placed, a red, numbered alerts pin appears to the right of the main menu as well as in the My account menu. Clicking the pin opens up an Alerts page with more detail.

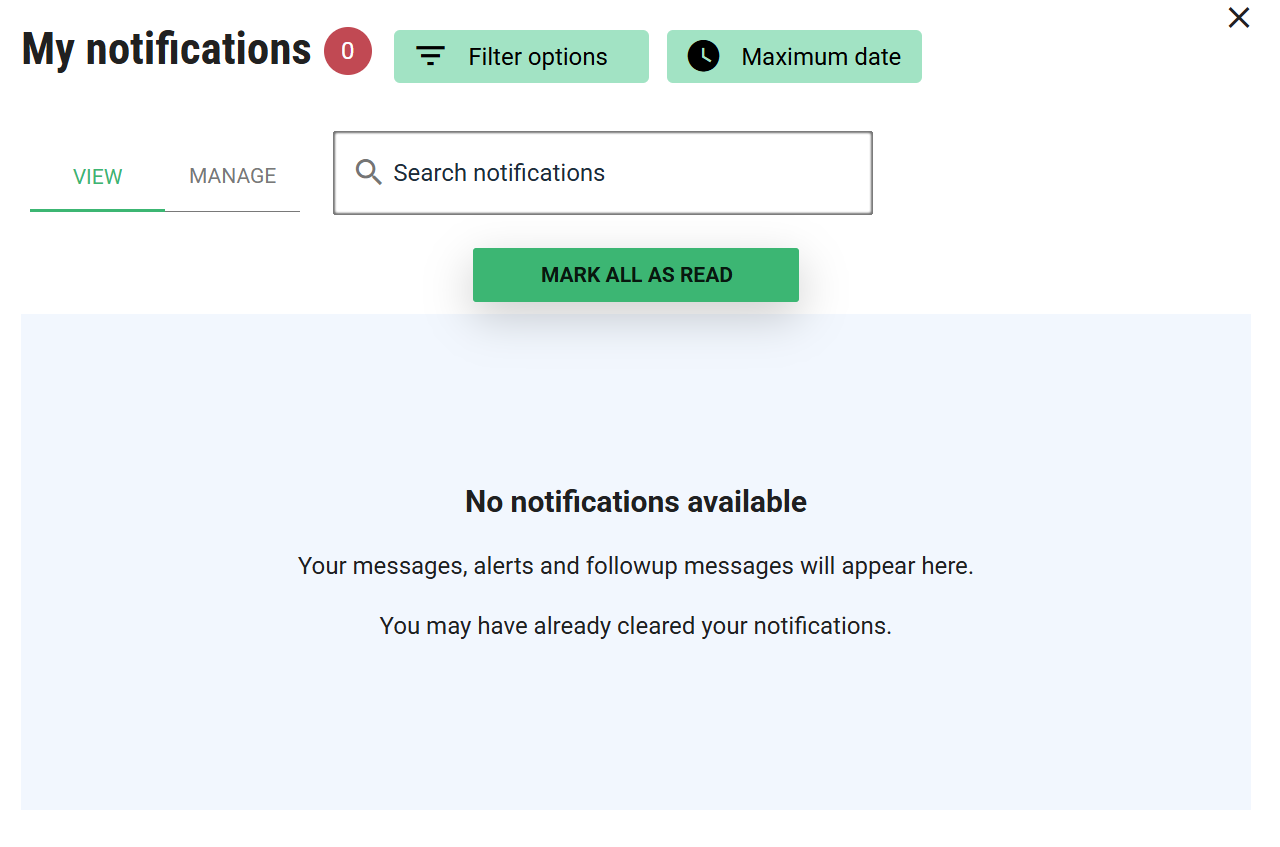
Use the Mark all as read button to dismiss all or dismiss each alert as it shows. If the alert needs more in-depth analysis, click the Case Reference hyperlink to navigate to the case.
4. Read the additional help pages
Next, we suggest you read through the other Getting Started help pages to familiarise yourself with concepts and terminology.