Support Files
This option allows you to securely exchange Excel files, screenshot images, zip files or other documents with ClearLife. This is a better way to exchange such files than by attaching them to emails, which are not secure, particularly if they contain Personally Identifiable Information (PII) or sensitive data.
Select the Support Files option from the Help menu. There are two sections, Sent Files and Received Files.
To send a file:
- Click the plus icon next to the Sent Files heading.
- The Send a file popup is displayed.
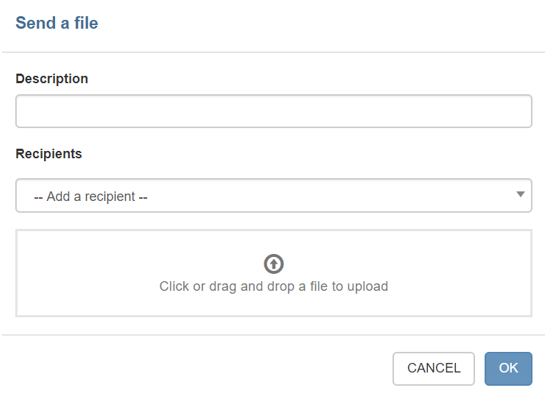
- Either drag a file onto the upload area or click in the upload area to open an Explorer dialog.
- Once a file is selected, it will be securely uploaded.
- Add a Description for the file and select a Recipient before clicking OK.
- The newly uploaded file appears in the Sent Files list.
- After you have finished adding files, you can use the Copy to Clipboard button next to any Direct Download Link and paste the link into an email.

- Only ClearLife employees and ClariNet LS users from your own organization can view the files.
- You control any files that you send to ClearLife and may choose to delete them at any time, using the – button.
To receive a file:
- ClearLife can send files to your organization as a whole or to you privately, using Support Files. These appear in the Received Files section.

- They may then share links to such files with you via email. Only ClearLife employees and either all ClariNet LS users within the organization or the individual recipient user can view the files.
You cannot delete files that ClearLife have sent to you.
For other information required to support your help request see Contact us.