Admin
The Custom Fields admin page allows you to define and manage custom fields for use on the Case, Policy, Insured, and LE Reports pages.
To access the page select Custom Fields link from the Settings menu.
The Custom Fields option in the Settings menu is only available if your Administrator has granted you the Custom Fields Configuration role.

On the Custom Fields page there are four tabs, one for each page where you can define custom fields:
- Case
- Policy
- Insured
- LE Reports
Creating a custom field
- Select the Case, Policy, Insured, or LE Reports tab.
- Click Edit button.
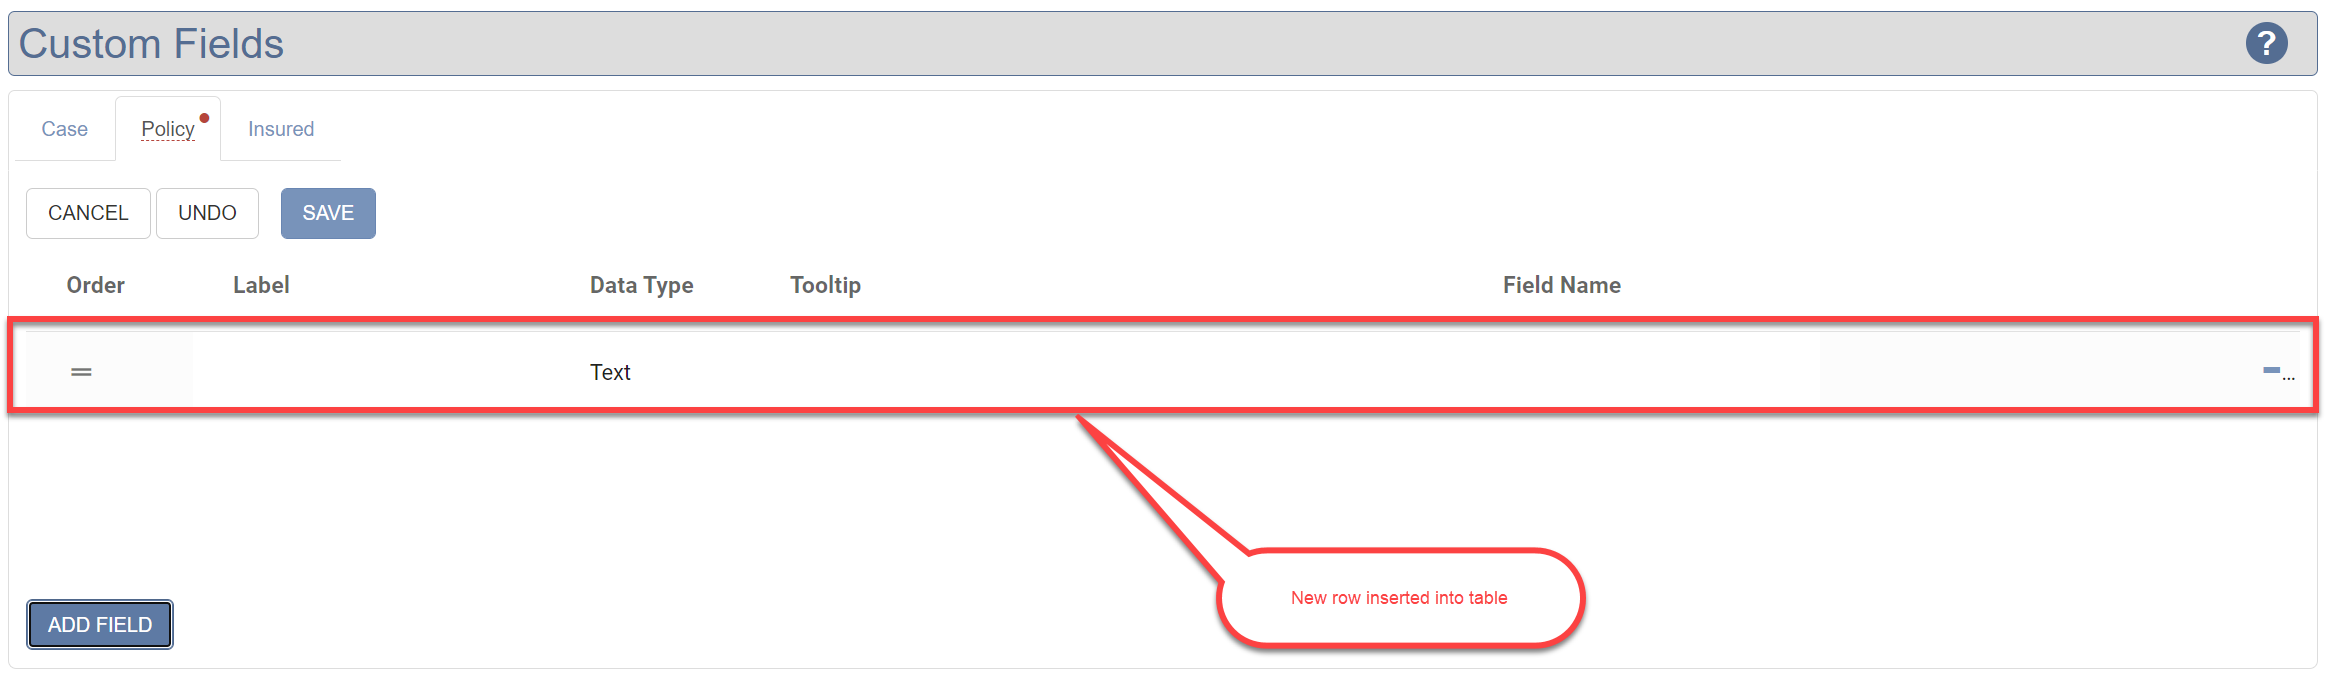
- Click Add field button.
- Fill in form in modal
- This inserts a row with a light grey background in a table.
- Click in a field to edit the row. The field becomes bigger and a text box appears.
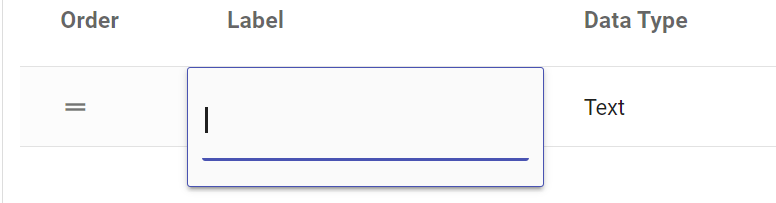
- Type a Label (required) for the new custom field. This is the what the user sees on the web page as the label for the field.
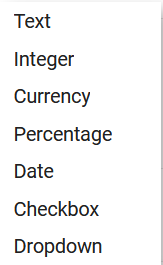
- Select a Data Type (required) from the list.
- Define a Tooltip (optional) for the custom field to provide some help, if required, to the user about what this field is about. This will be shown when a user hovers their mouse over the field.
- Define a Field Name (required) for the custom field. This is a name (with no spaces) that represents the underlying fieldname that will be used to technically represent the field. This is used for example when importing or exporting in XML. It will be auto-populated the first time a Label is entered, but can be edited before saving.
- Click SAVE button.
Once a field has been created, only the Label, Options and the Tooltip can be changed. The Data Type and the Field Name are static and can never be changed.
Dropdown Data Type
For fields where the user should select from one of a list of available options, the “Dropdown” data type can be used. To configure the options, the “Options” column becomes available when the Dropdown type is used. To list 2 available options, it would look like this:
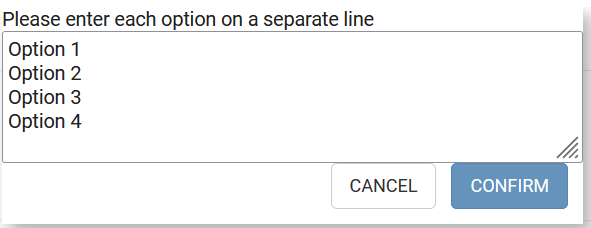
Note that each option appears on its own line. No commas or any other delimiter is required.
Options can be edited later to add new options if they are needed.
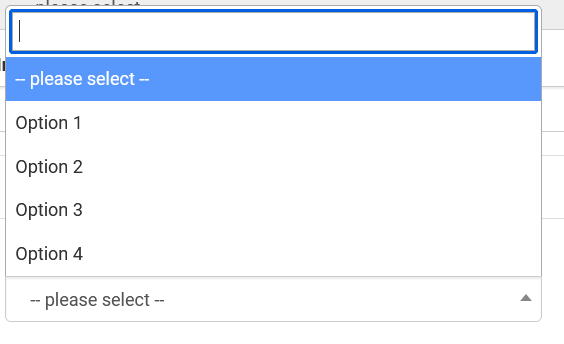
The field will look like an ordinary drop down field:
Reordering custom fields
- Click EDIT button.
- Click the Actions menu on the item you want to change
- Click Move Up or Move Down to reorder the field.

To edit a custom field
- Click EDIT button.
- Make the necessary changes to the custom fields. You can only change the Label, Tooltip, Options and order.
- Click SAVE to save your changes.
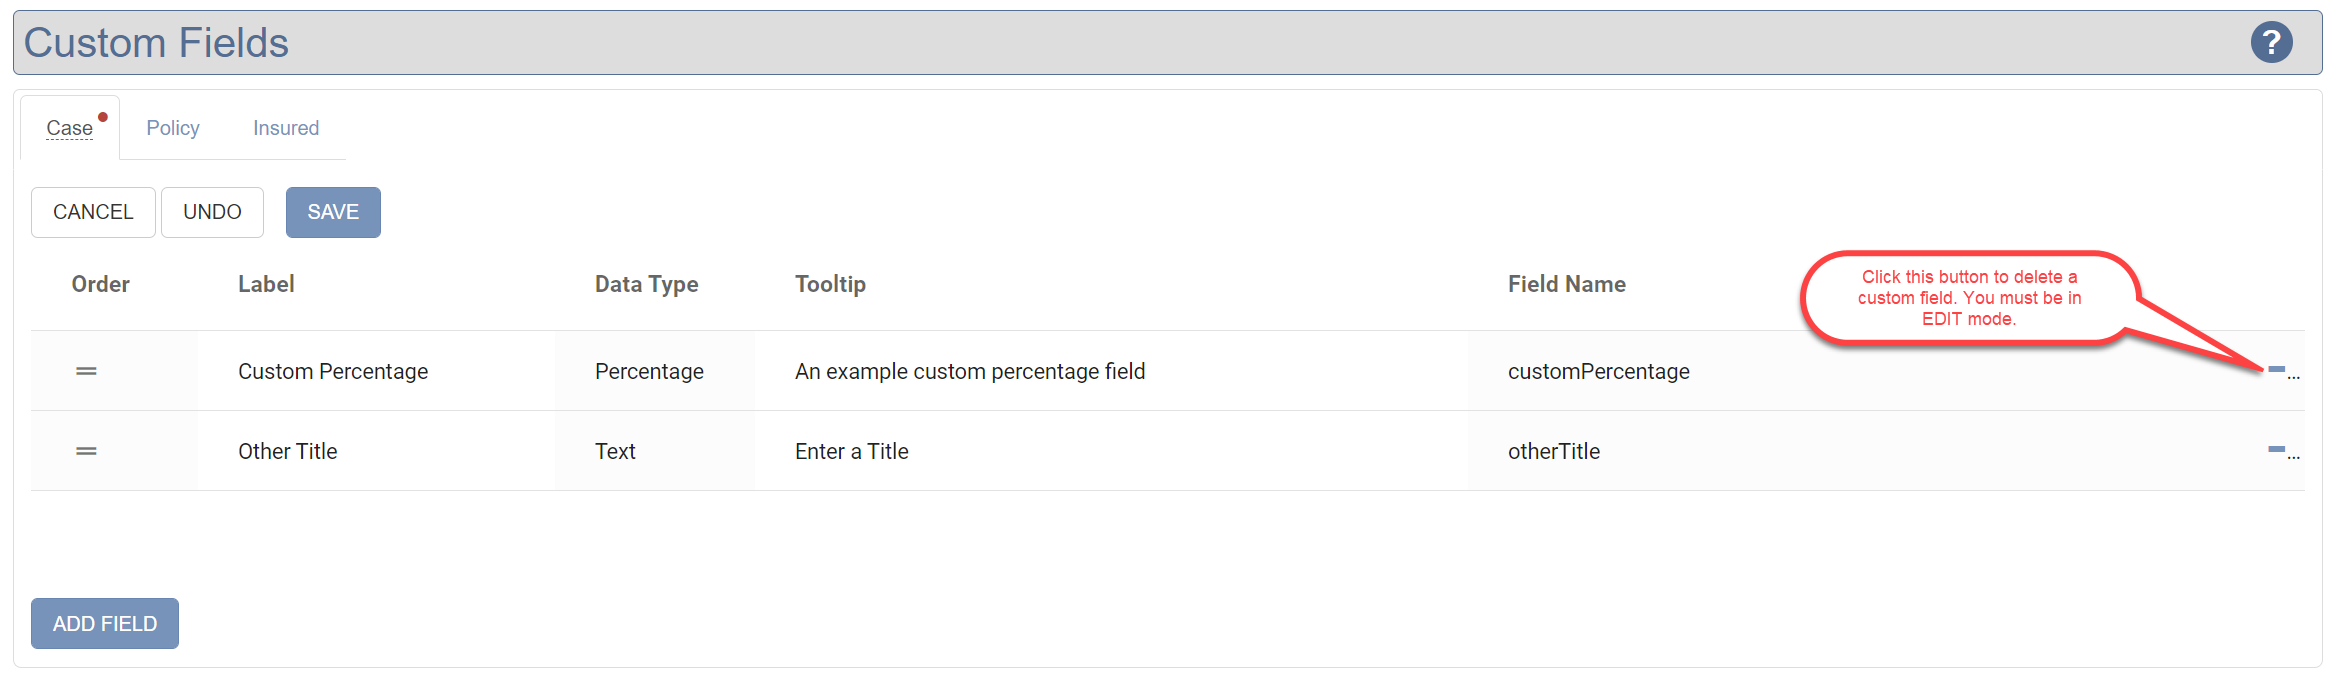
To delete a custom field
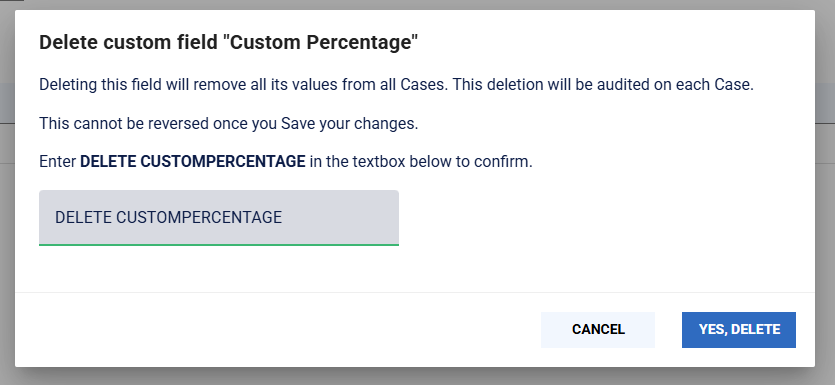
Deleting a field will delete the field and ALL THE DATA that was ever set on any
Case/Policy/Insured against that field. This operation cannot be undone.
- Click EDIT button to enable the action menu, then click Delete.
- You must confirm deletion by typing the text DELETE followed by the field name in the text box displayed.
Click here to learn about their usage and how to enter data for each case.