Carrier Info
This page allows you to configure Carrier Info and add notes. This can be displayed on the case Cost/Maturity/Disposal tab, if the configured servicing carrier is selected on the Servicing tab. A number of documents can then be added to each Carrier Info created.
To access the page, select Carrier Info from the Settings menu.
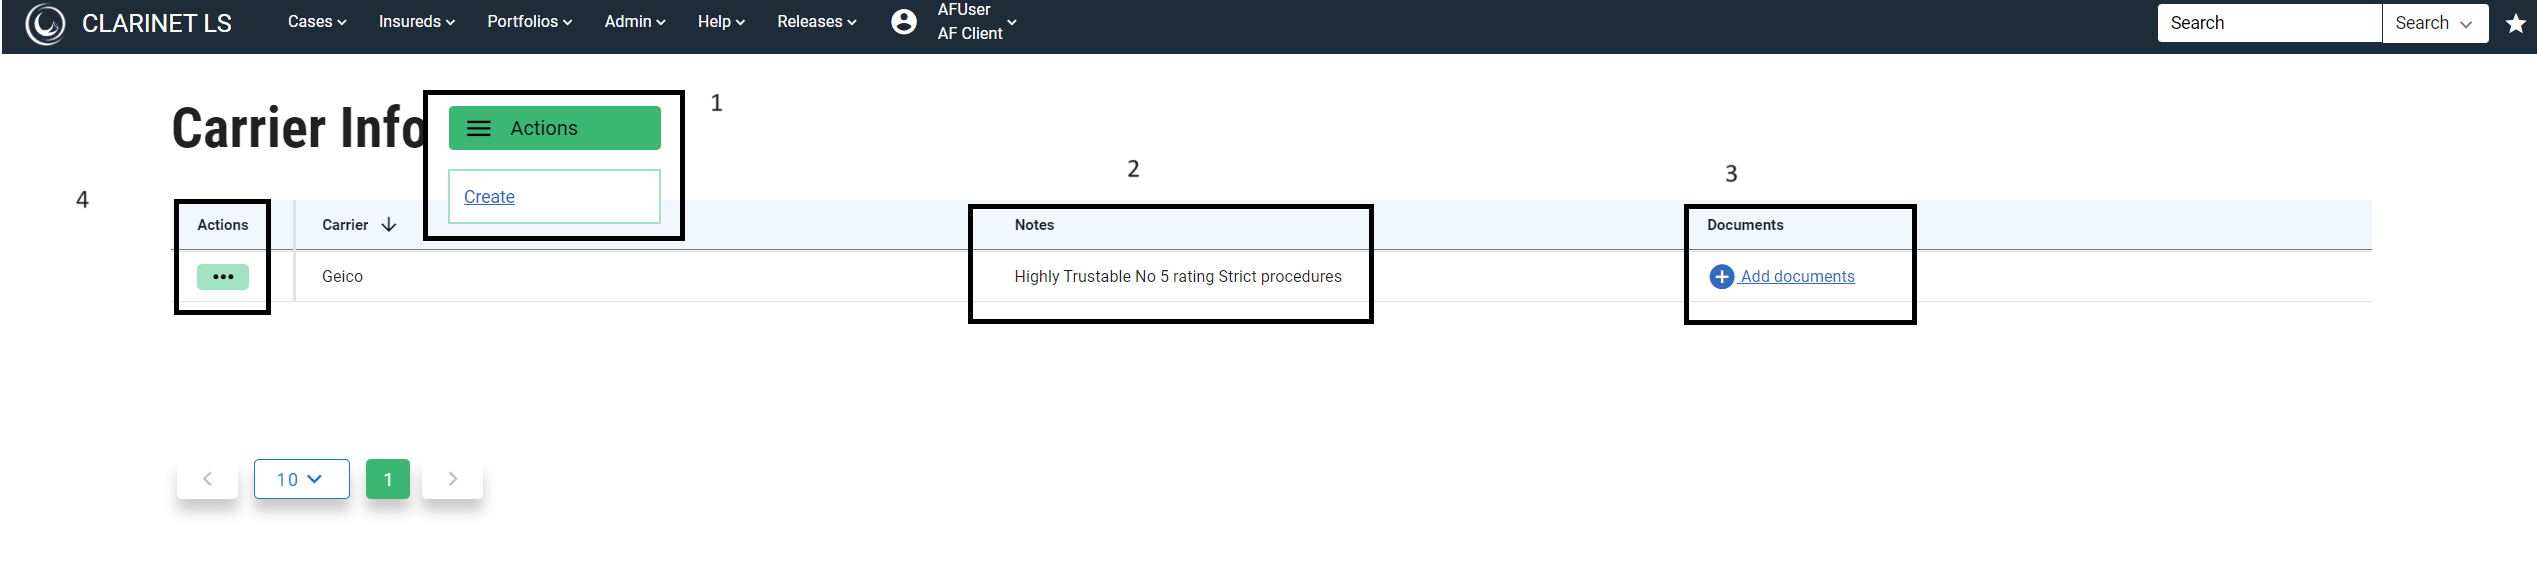
To create Carrier info
- Click on the actions button followed by “Create” link.
- Select the servicing carrier from the list and if a new contact needs to be created, click on the Open contacts button to navigate to the Contacts page.
- Click Create.
An entry in the Carrier Info table is created. Possible operations are:
- Add notes.
- Add documents.
- Delete Carrier Info
To add notes
- Select the desired Carrier and click on the column for notes.
- An Inline edit box appears where in you can enter relevant notes. Use CTRL + ENTER (keyboard shortcut) to enter multiple lines.
To add documents
- Click on the Add documents button.
- You can either select the document to be uploaded or drag the document into the upload zone.
- The document date and description fields are optional.
- Click SAVE.
All the uploaded documents will appear on the top of the page. The document count will be displayed on the table for each County.
To delete carrier info
- Click on the three dots menu under the Actions column to enable the delete operation.
- Click Delete on the confirmation pop up to successfully delete carrier info.
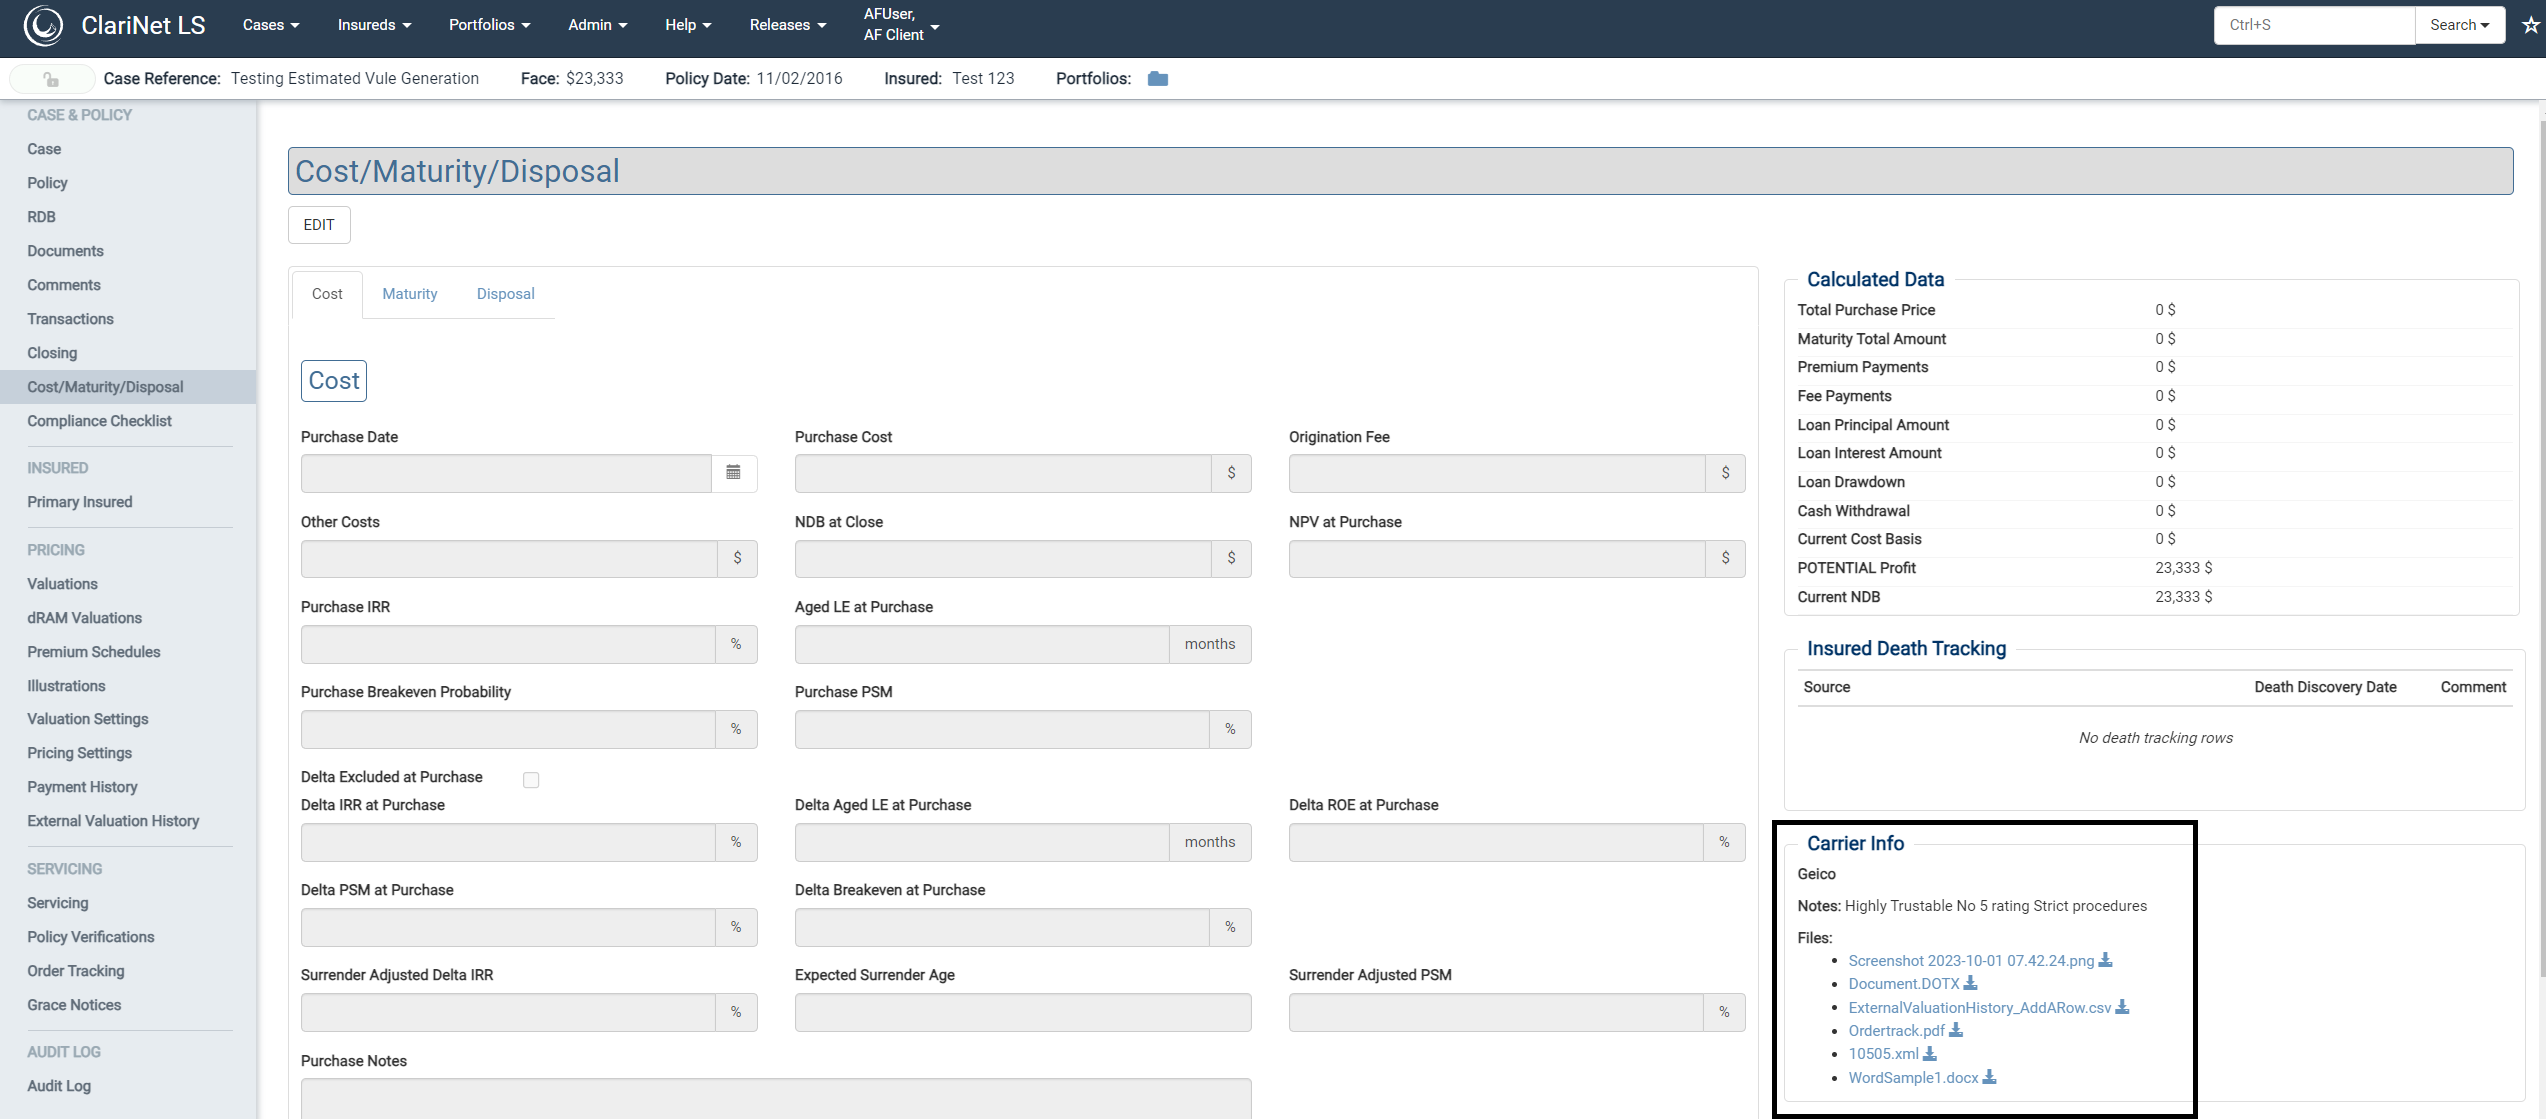
To display carrier Info on the case
- Navigate to servicing tab for a selected case.
- Select the servicing carrier that has been configured with notes and documents from the dropdown list.
- Click Save.
Servicing carrier should be set on servicing tab to view the carrier information on Cost/Maturity/Disposal tab
Example of Carrier Info display on Cost/Maturity/Disposal tab
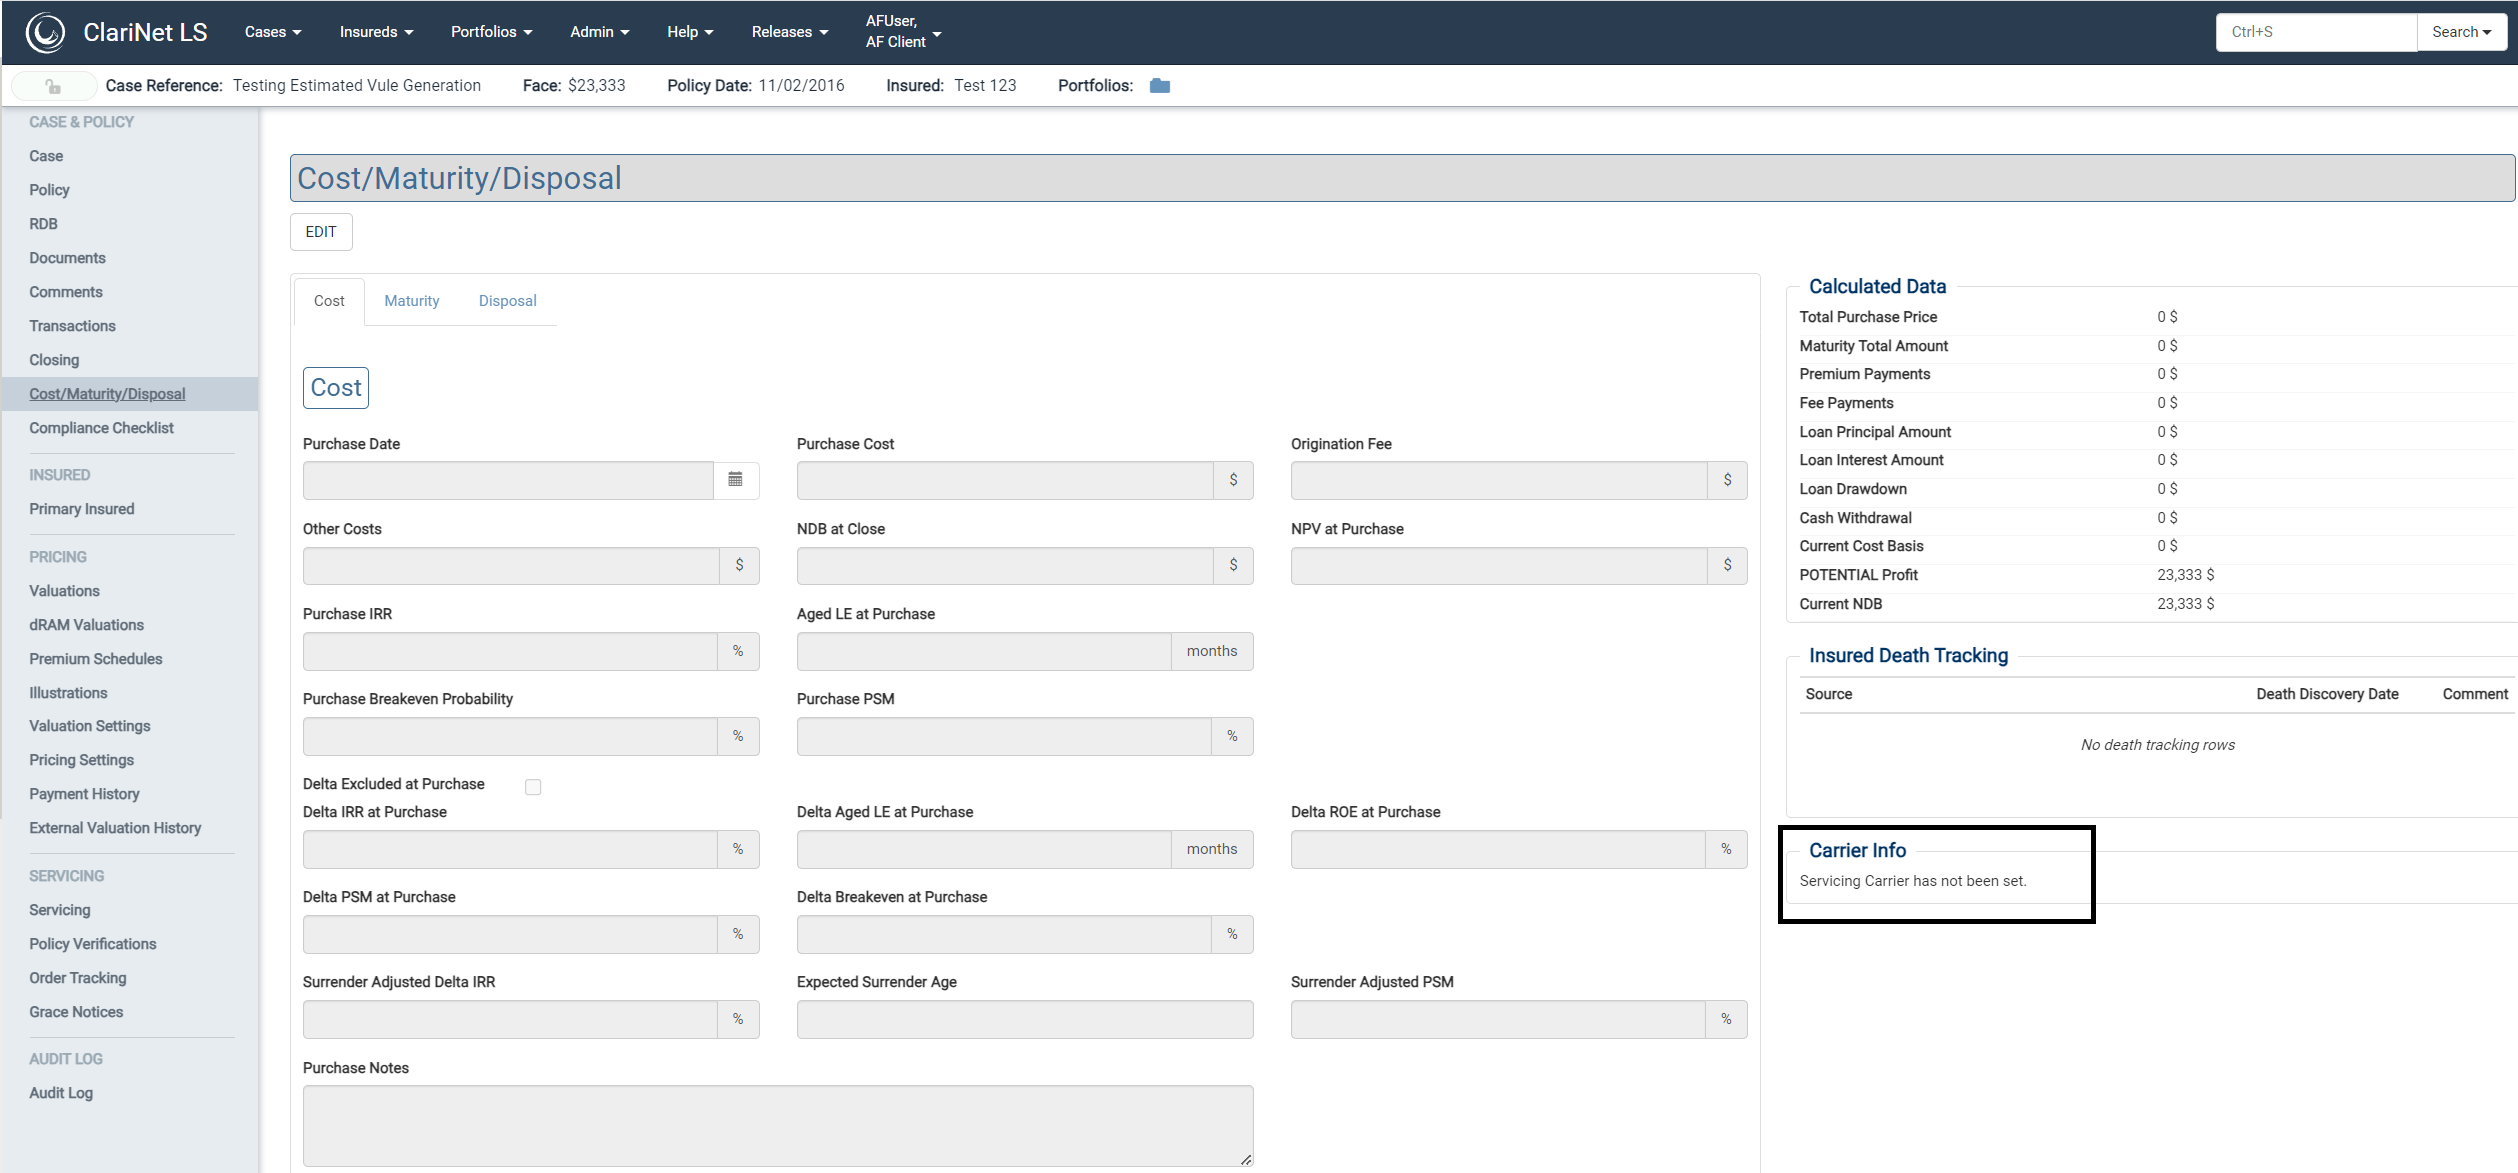
Example of Carrier Info configured and not set on Servicing tab
Example of Carrier Info configured and set but notes and documents are not added