Portfolio Snapshots
To use the Portfolio Snapshot functionality, you need to have the “Portfolio Snapshots” permission enabled on your user account.
The Portfolio snapshot feature allows you to capture the state of a Portfolio of Cases at a particular moment in time. This can be useful, for example, so that you can regularly capture the state at the end of the month or aligned with significant reporting dates, to allow you to view Policy and other valuation relevant attributes from the Case as they were at a particular point in time.
Cases that are snapshot are duplicates of the original Case at the point in time they were snapshot. They will not appear in Searches and Reports by default, they will be hidden from view.
Creating Snapshots
To create a snapshot of a Portfolio, access the Portfolio details of the Portfolio you would like to snapshot. Click on the “Snapshots” tab.
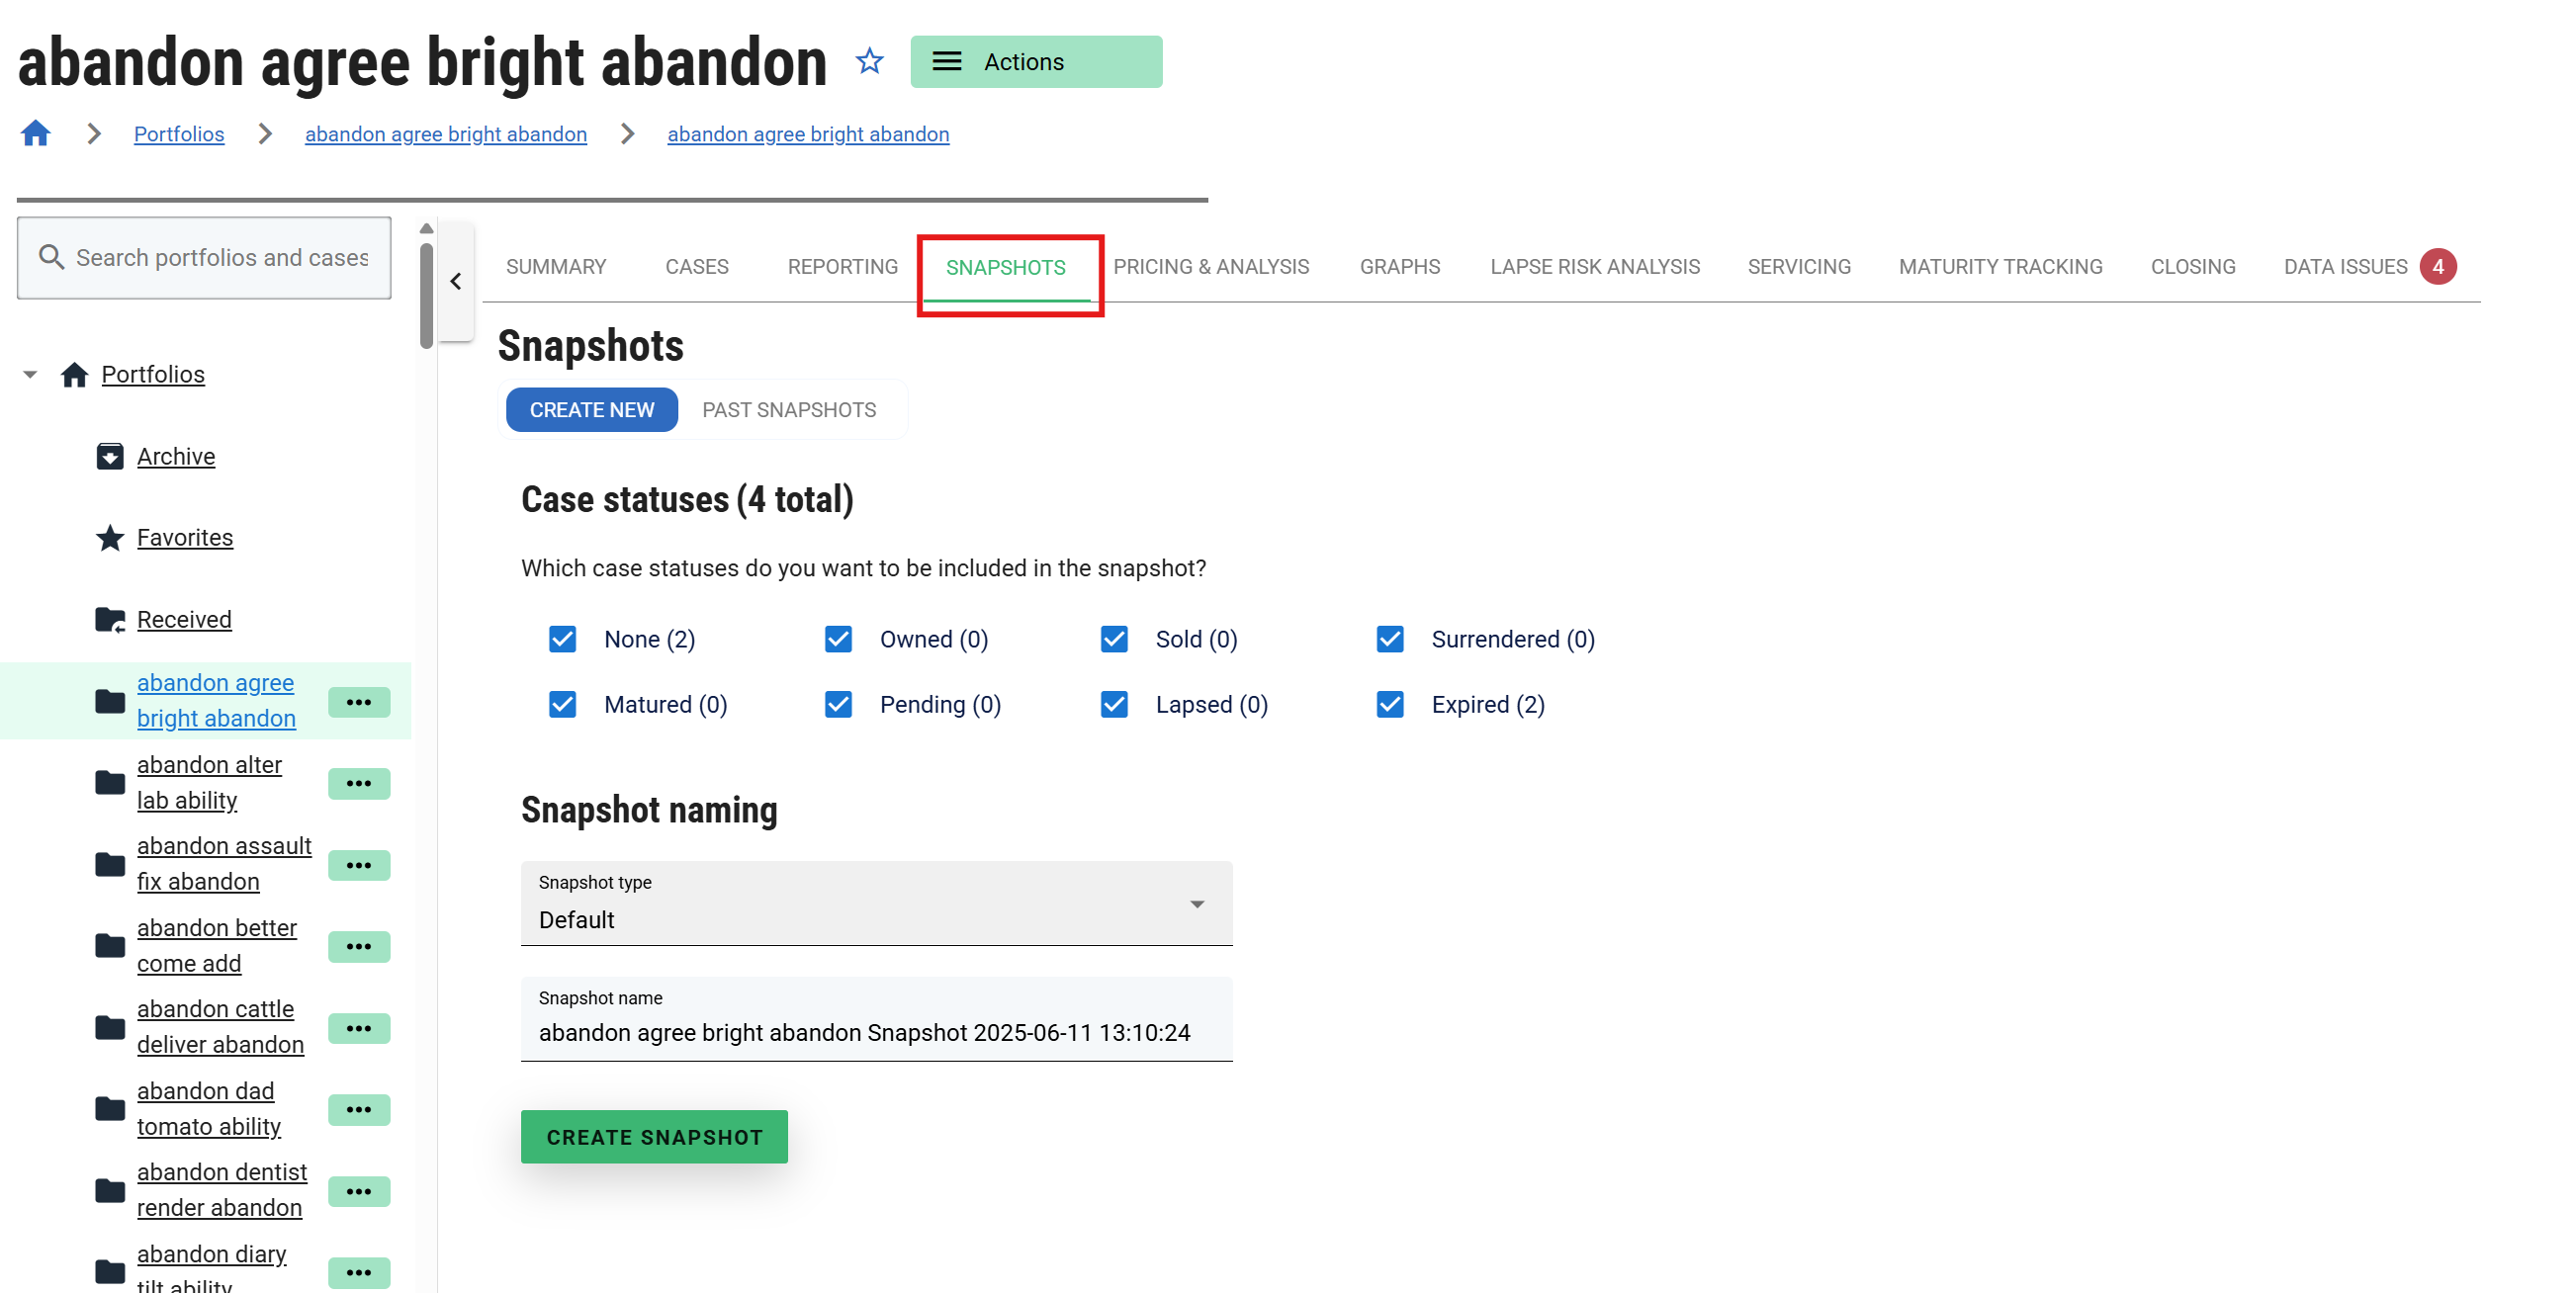
This page presents you with some options that control the Cases that are including in the Portfolio’s snapshot, and the name of the Snapshot. For example, you can limit to active Cases only if you wish.
The snapshot name is automatically suggested to you - this can be controlled by Snapshot types. It must be a unique name, distinct from any existing Portfolio name. You can include a date in the name, for example, to indicate when the snapshot was taken. Cases that are duplicated for the snapshot will have the snapshot name postfixed to their Case Reference.
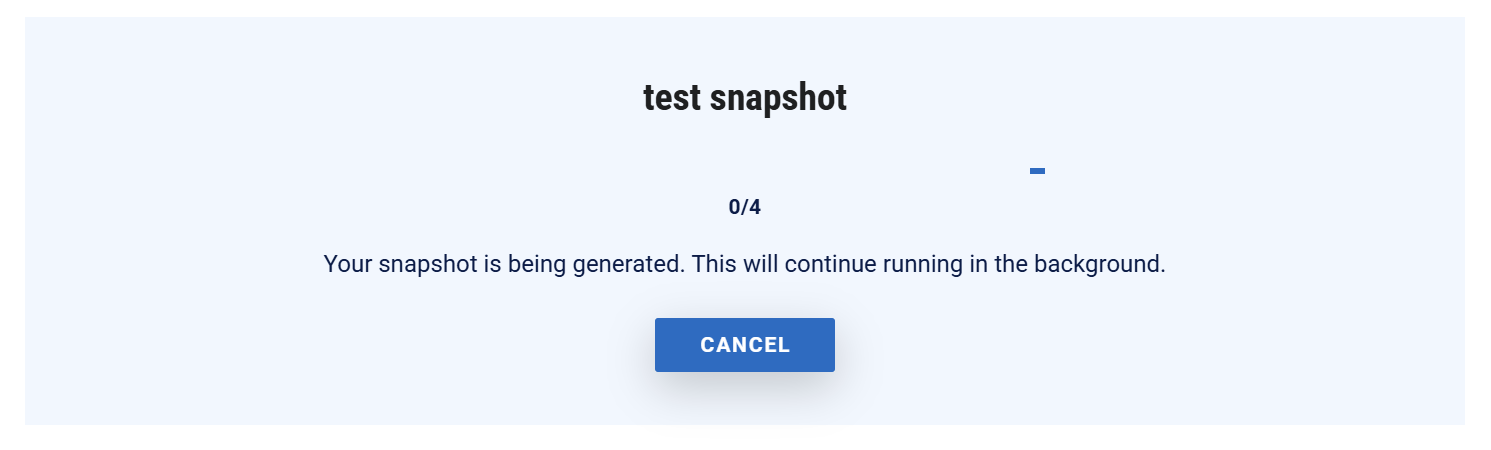
When you’re ready, click “CREATE SNAPSHOT” to create the snapshot. This process will take approximately 1 second per Case. So if you have a Portfolio of 120 Cases, that will take about 2 minutes. You will see a screen like this while the snapshot is in progress:
Once created, if you click on the “PAST SNAPSHOTS” tab, you will be able to see the snapshot you just created, and any others for the Portfolio. Accessing that will take you into that Portfolio snapshot, where you will be able to see and browse to the Cases that were snapshot, as they were in the original Portfolio at the time of the snapshot.

Snapshots can also be found using the search functionality of the Portfolio list page. Snapshots will appear with a camera icon next to them.

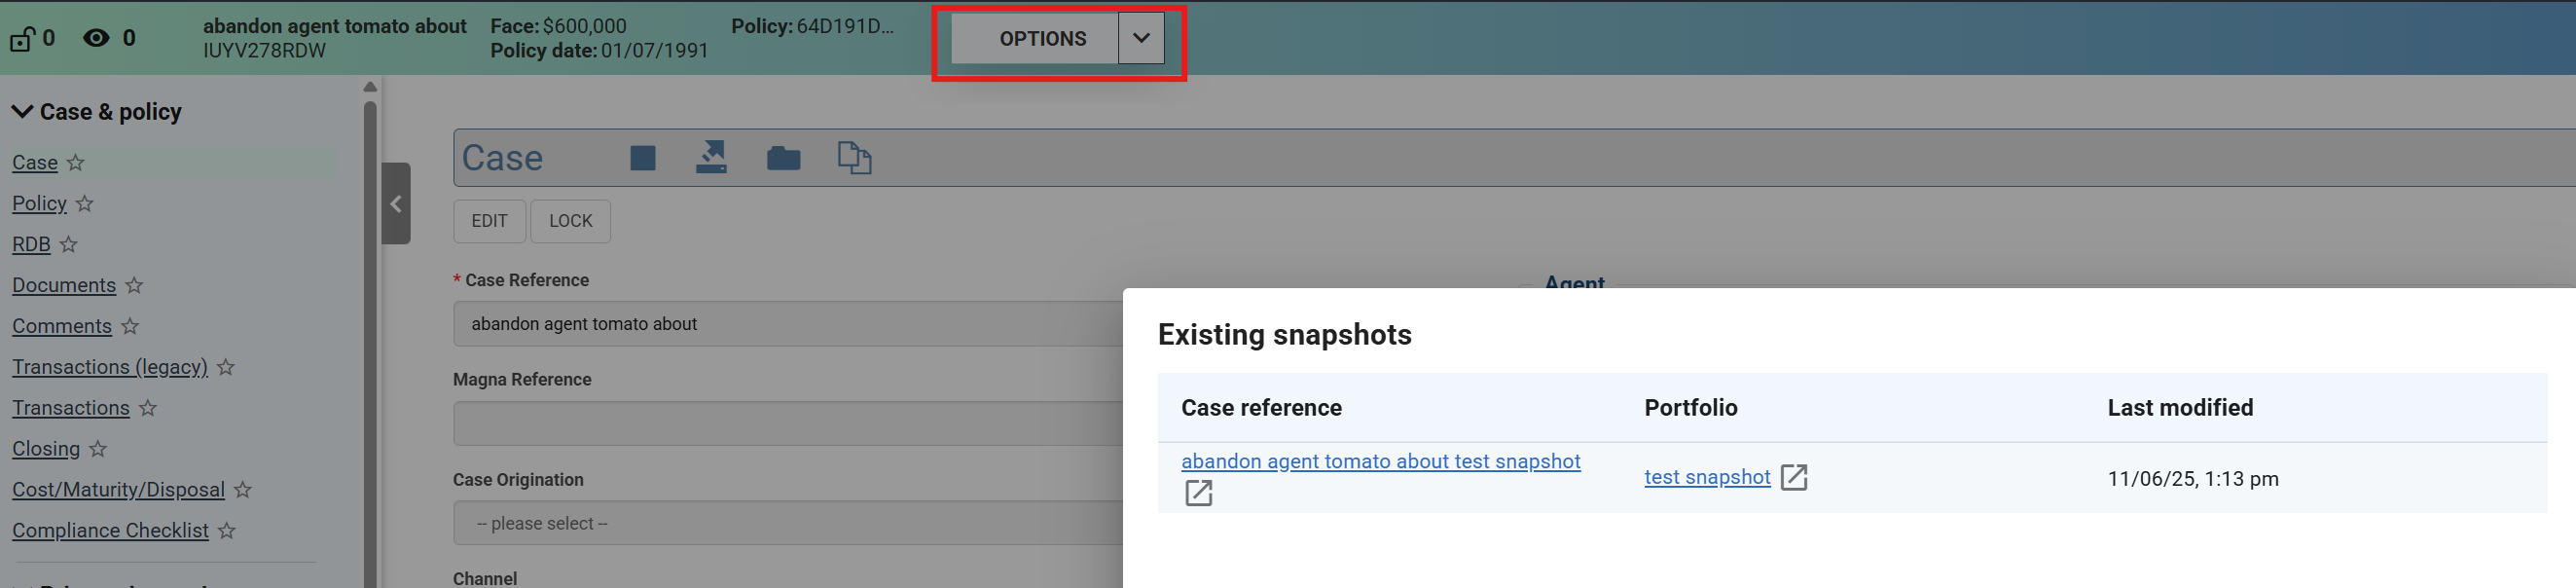
You can view snapshots of a particular Case by accessing the Snapshots sub menu via the Options button of the Case navigation bar.
Snapshot Types
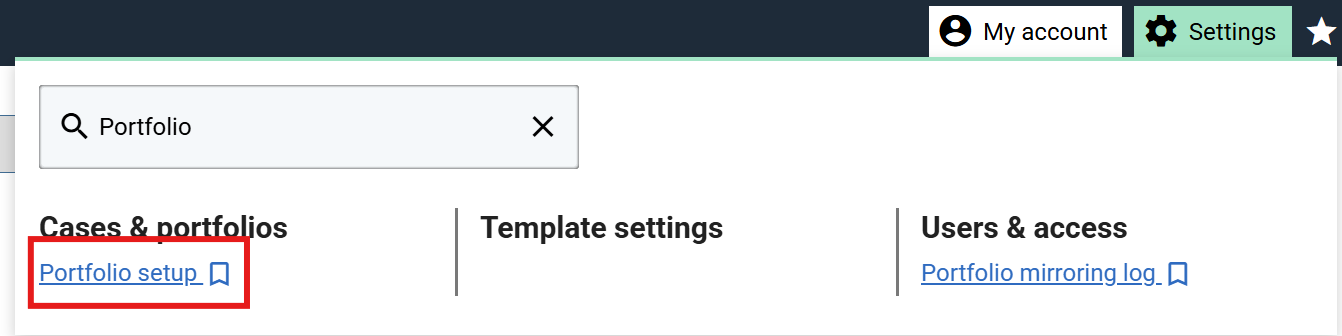
Snapshot types can be defined using the Portfolio Setup page, which is accessed via the menu shown below.
The purpose of a snapshot type is to automatically populate the Snapshot name appropriately when creating a new Portfolio Snapshot, in a way that allows you to restrict snapshot names to a particular convention that is appropriate for your particular periodic process in order to keep your snapshots organized.
The Portfolio Setup screen is shown below, with two Snapshot Types defined.
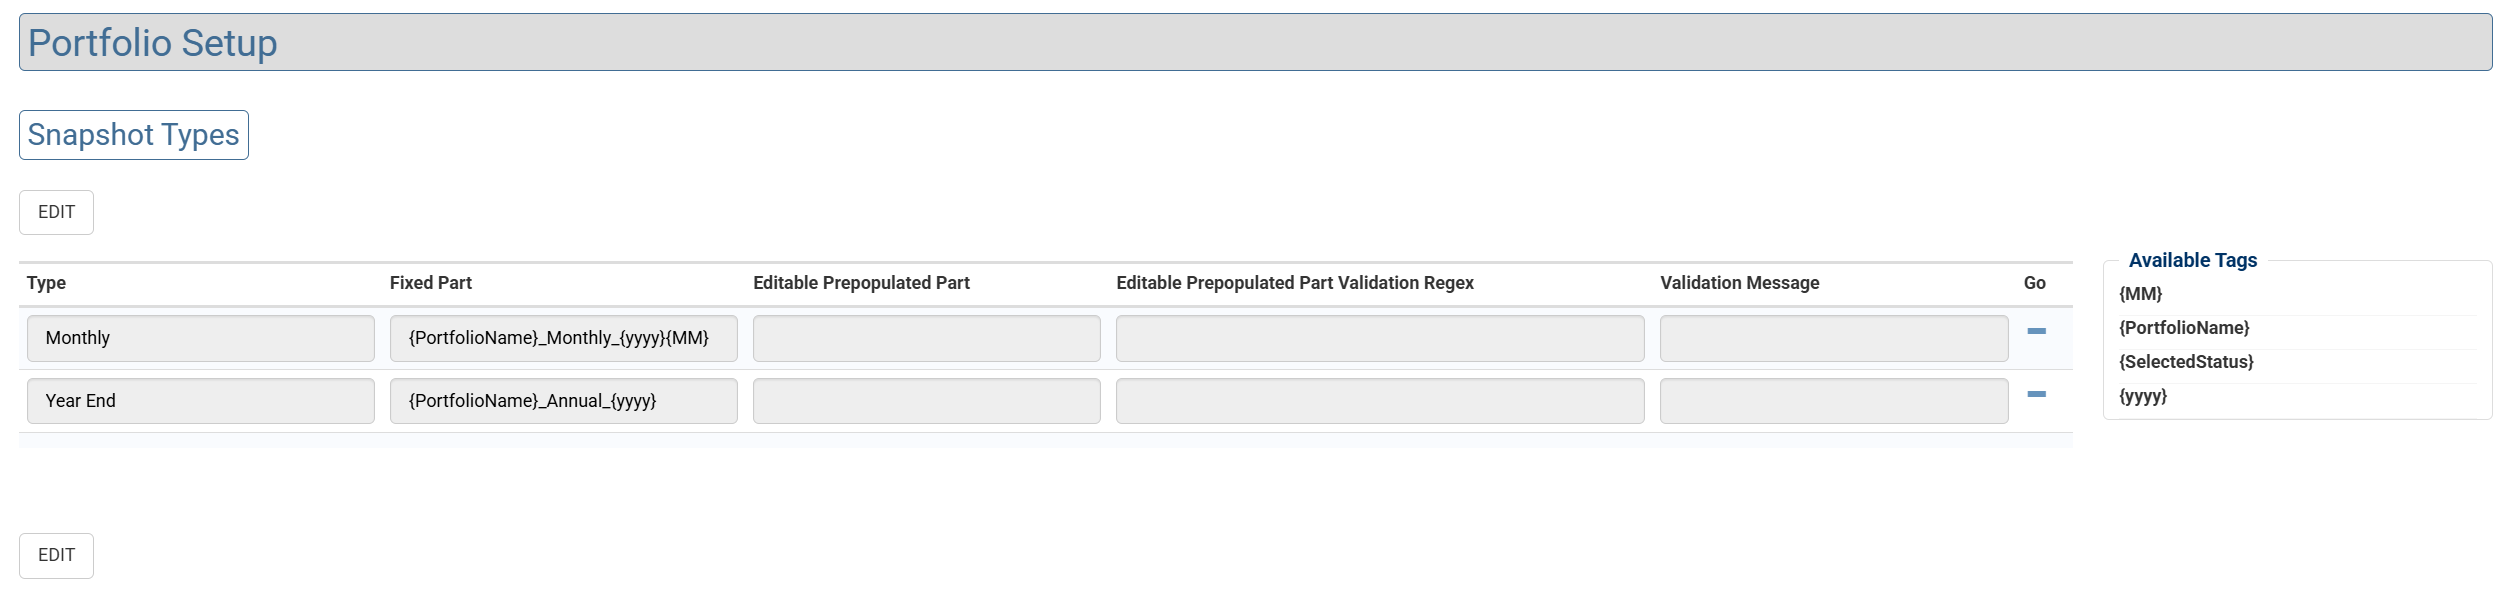
The “Default” snapshot type will always be present when creating a Snapshot. This allows a free-form entry of any snapshot name, as long as it does not conflict with any existing Portfolio name.
Available tags
The tags on the right hand side can be used to automatically substitute values into the snapshot name that are appropriate for the context in which the Snapshot is created.
| Tag | Description |
|---|---|
{MM} | This is the one based two digit month value at the time the snapshot is being created. For example, if the snapshot is being taken on 11 Jun 2025, this value would be 06 . |
{yyyy} | This is the four digit year value at the time the snapshot is being created. For example, if the snapshot is being taken on 11 Jun 2025, this value would be 2025 . |
{PortfolioName} | This is the name of the Portfolio that is being snapshot. For example, if the snapshot was on a portfolio called “Test Portfolio”, it would be Test Portfolio . |
{SelectedStatus} | This is the concatonated list of Case status that are part of the snapshot. For example, if Matured and Sold cases were selected to be included in the snapshot, the value for this tag would be MAT-SOLD |
To include a tag in either the fixed or editable parts of a Snapshot name, click on the textbox of the field you wish to insert it into, and then click on the tag on the right hand side. Or, just type it in where you want to place it manually.
The parameters you can define for a Snapshot Type are described in more detail below.
Type
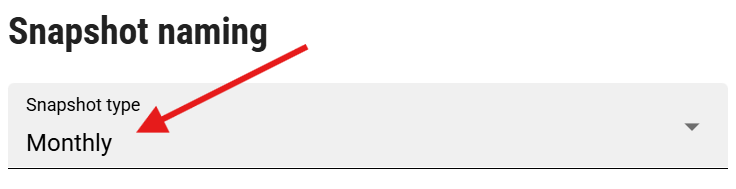
This is the name of the Snapshot Type, that will appear in the “Snapshot type” drop down when creating a new Snapshot.
Fixed Part
The “fixed” part of the snapshot name. When creating a snapshot, this is the prefix for the snapshot name that cannot be changed by the user for this particular snapshot type. Defining a fixed part for a snapshot type is required.
For example, given a Fixed value of {PortfolioName}_Monthly_{yyyy}{MM}, a user would see the following on Snapshot creation for that particular Snapshot type:
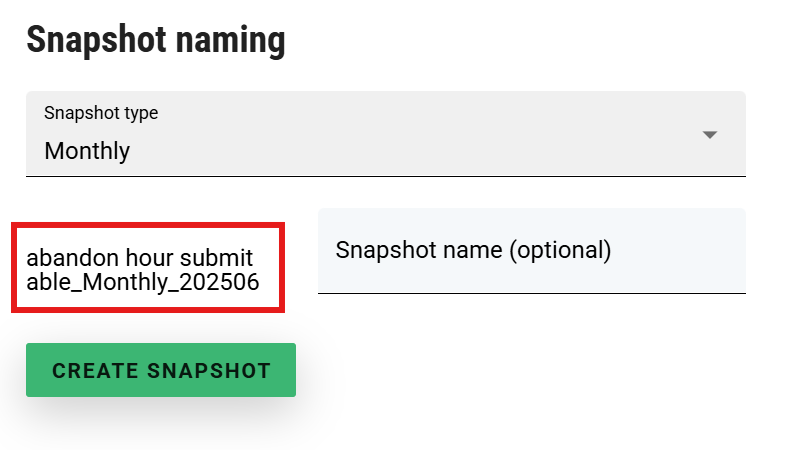
The user is unable to edit this part when creating the Snapshot. The “tags” have been substituted with the appropriate values for the date the snapshot is being taken and the Portfolio that is being snapshot.
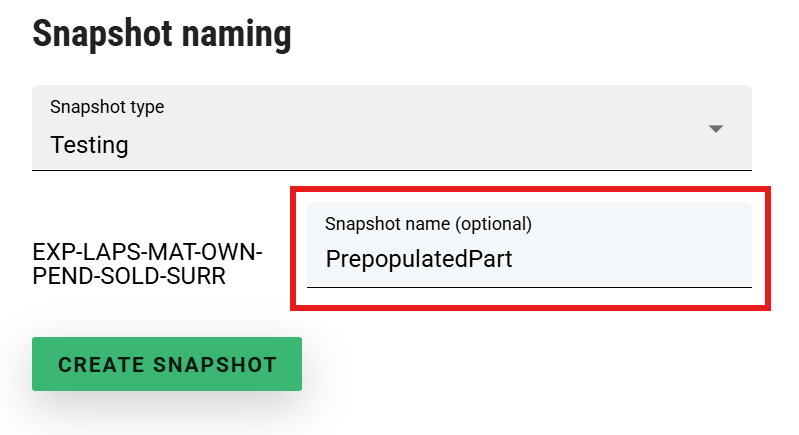
Editable Prepopulated Part
The prepopulated part of the snapshot type is shown below when creating a snapshot with that type. Having a pre-populated editable part of the snapshot name is optional. The user is still able to edit this part of the snapshot name, if they wish to do so.
You can use the same “tags” in the editable pre-populated part of the snapshot name as the fixed part. So, for example, you could use {yyyy} to have the year substituted in automatically. You might want to use the editable part of the snapshot name where the tags do not cover some systematic value you wish to use, and so this has to be completed manually.
Editable Prepopulated Part Validation
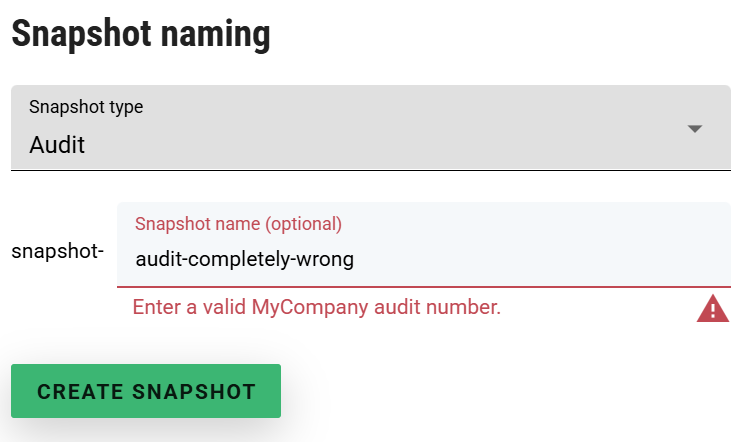
As mentioned earlier, you might need to use the editable prepopulated part in circumstances where you need a particular systematic name for the snapshot, but ClariNet cannot provide a particular value you need. For example, say you wanted to align snapshot names with an internal audit identifier, like snapshot-audit-57. In this case, ClariNet cannot know that the audit number is 57 automatically, so the user has to supply it. However, you want to ensure that users enter something that looks valid. In that case, you can use regular expression validation to increase the chances of that.
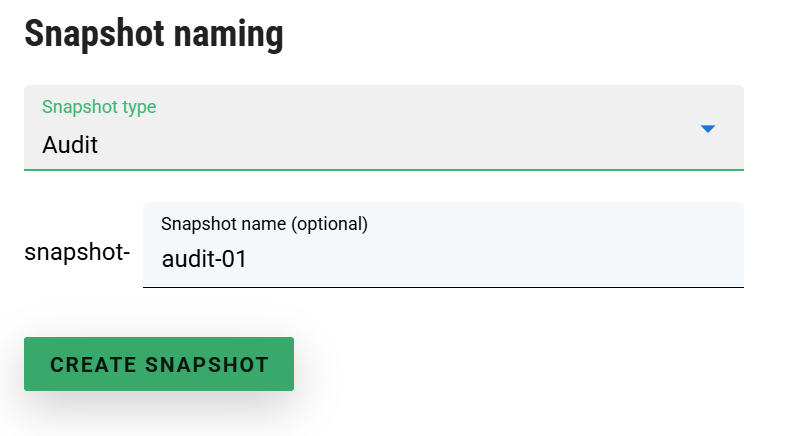
In such circumstances, you can setup a Snapshot Type like the below.

By default then, snapshots of that type will be populated as follows:
And if a user mistypes the audit identifier, the validation message will remind them: