
Tutorial: Insured Mail Merge
Export templates let you generate letters or reports using data from ClariNet. This tutorial guides you through creating, configuring, and running a template to output a personalized letter for all surviving Primary Insureds in a portfolio.
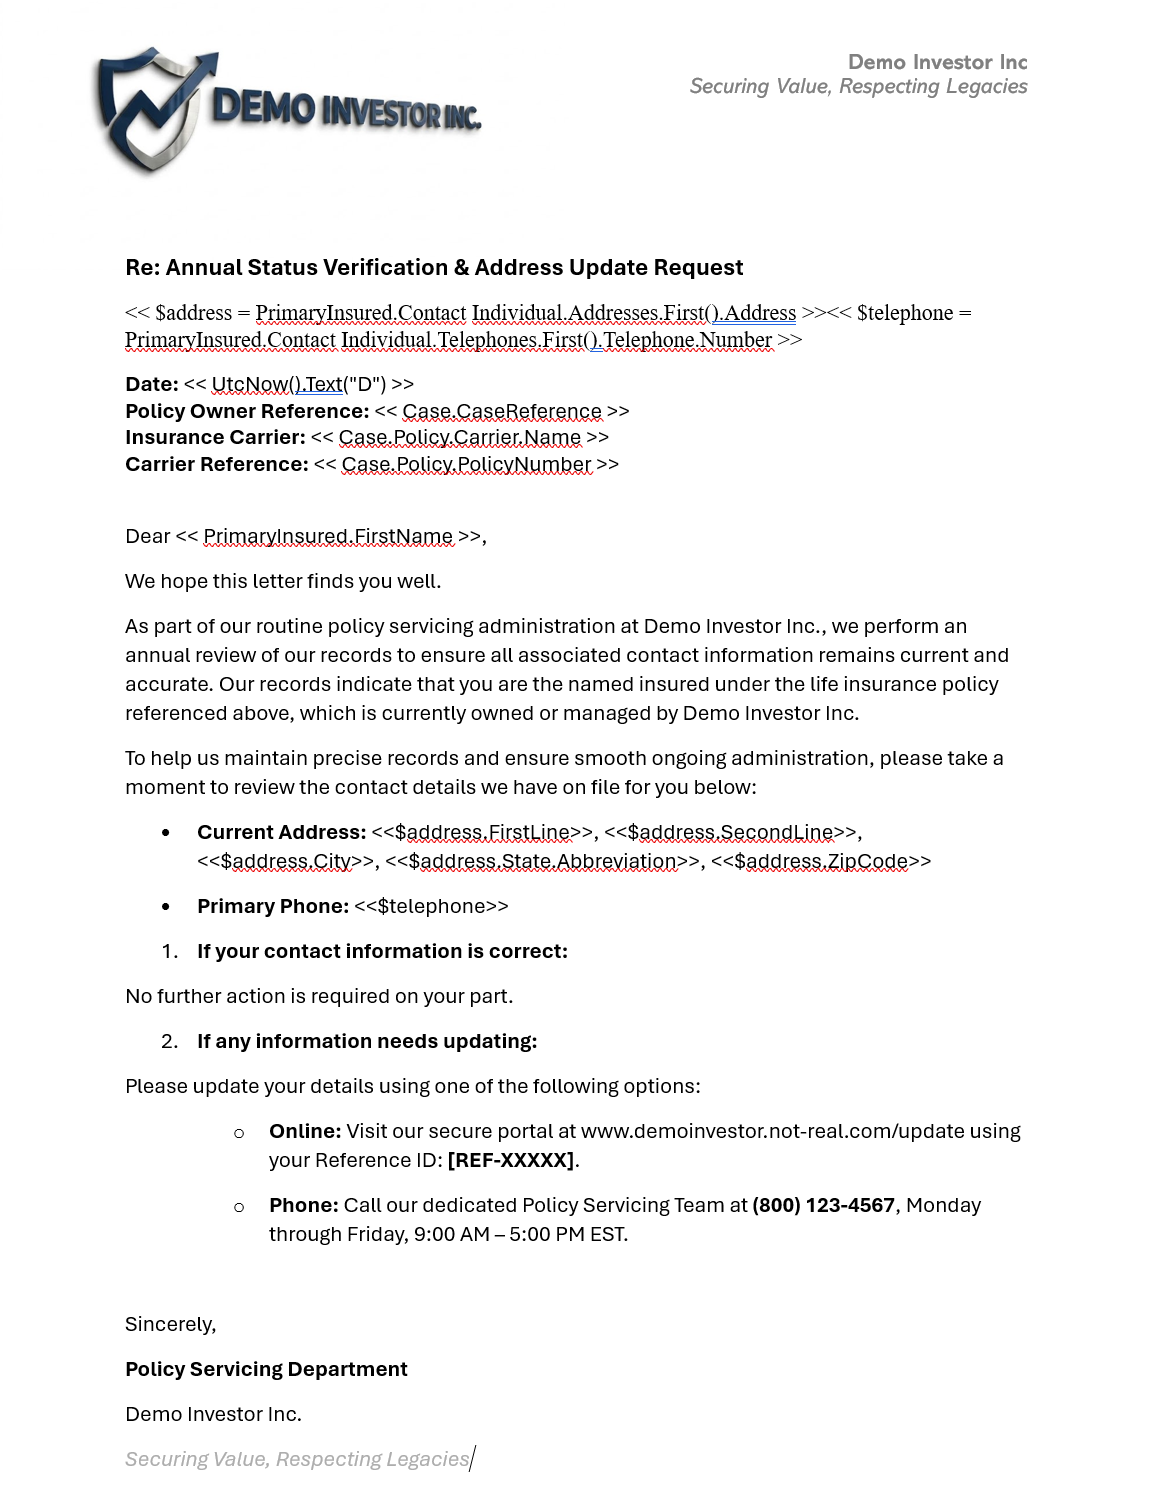
- Create your template draft Draft your letter template as a normal Word document (
.docx) using standard formatting and images as needed. No special extensions or add-ins are required. Here’s an example:
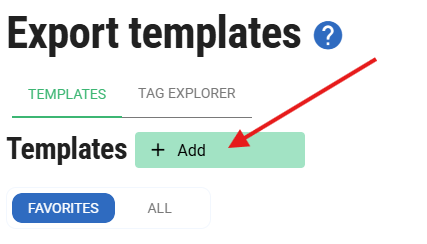
- Add a new export template Go to Settings → Export Templates and click the Add button.
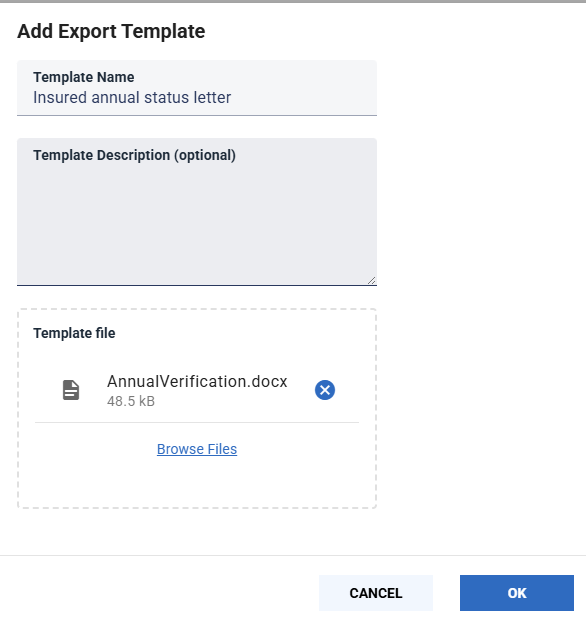
- Upload the file Drop your template file into the Template file area, provide a suitable name, and click OK.
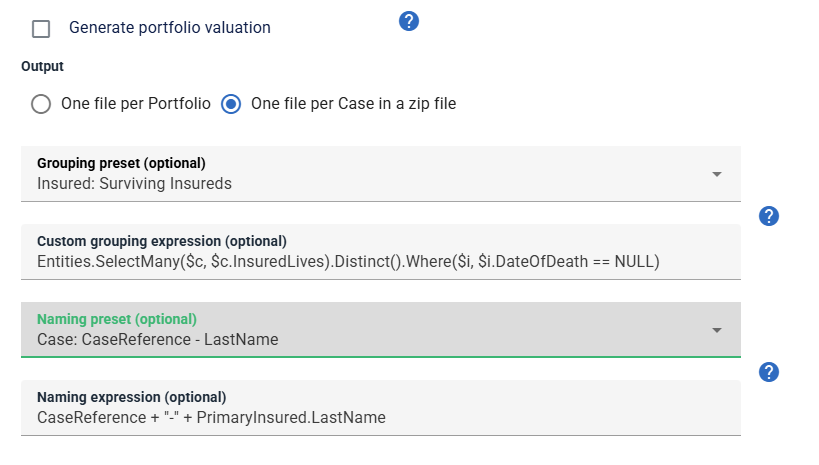
- Configure output settings Click on your newly created template in the main list to open the side panel. Scroll to the bottom of the Details tab and change the Output toggle to One file per Case in a zip file.
- Set up grouping rules Under the Custom grouping expression dropdown, enter the following:
Entities.Where($c, $c.Policy.PrimaryInsured.DateOfDeath == NULL)This will select all cases where the Primary Insured is alive. The template needs Case information, so we won’t use the Surviving Insureds preset, which will only contain Insured information. - Define the naming expression In the Naming expression field, select CaseReference - LastName. This controls the file names inside the generated zip archive, allowing you to easily identify who each letter is for.
- Save changes Click SAVE at the bottom of the side panel to store your configuration.
- Run the template Navigate to the Portfolios page, select the target portfolio, and go to REPORTING -> EXPORT TEMPLATES. Find your letter template and click Run on its actions menu.
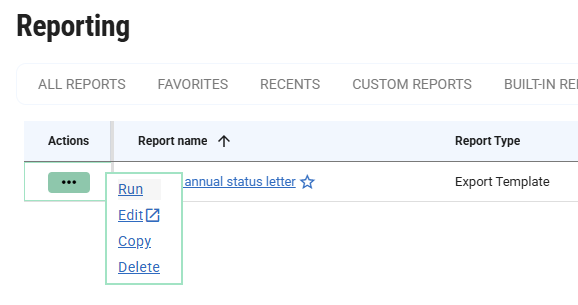
After a few seconds (or longer for large portfolios), the zip file will download automatically, containing individual letters for all surviving Insureds in the portfolio.
Updating your template
To make changes or corrections later:
- Edit your Word document and save the revised file.
- Return to Settings → Export Templates and open the side panel for your template.
- Upload the updated document in the Upload new template file area and click SAVE
Your updates take effect immediately for all subsequent runs.